
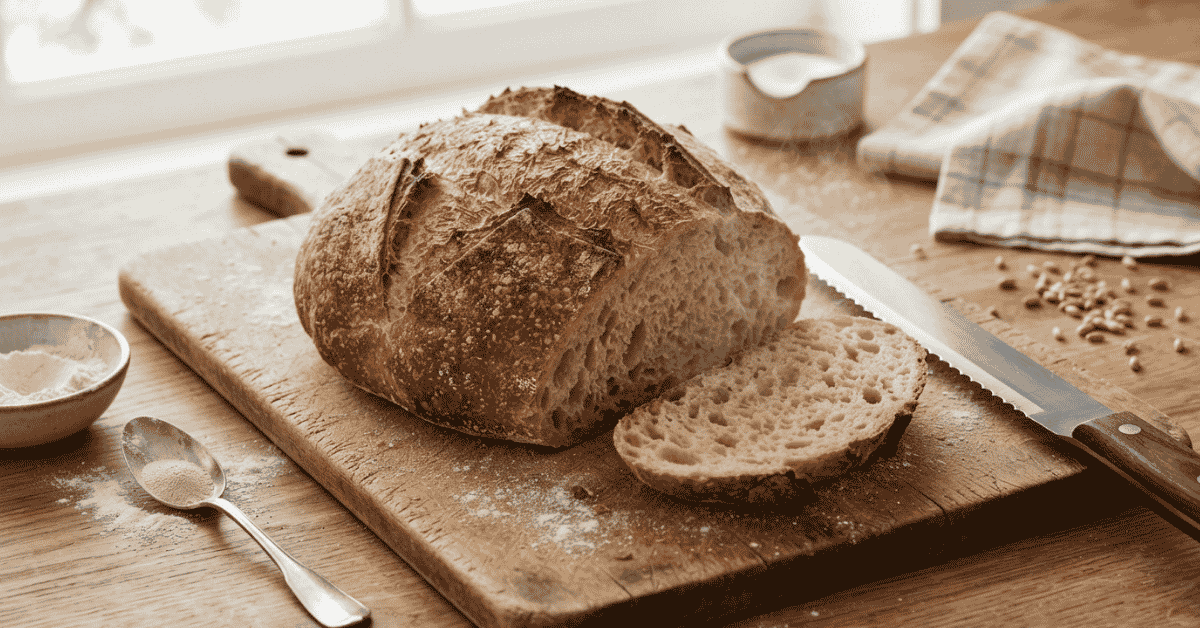
1 Hour Crusty Bread Recipe can save the day. I found this out on a busy night. I had no time for a long bread rise. Yet I still wanted warm bread with a crisp crust. This quick loaf gave me just that. The crust crackled as it cooled. The inside stayed soft and warm. I now use this method when time is short. Let me show you the steps I trust most.
1 Hour Crusty Bread Recipe gives you warm bread fast, with a crisp crust and soft crumb. Try this quick bake today and enjoy fresh bread soon.
Why I Love This One Hour Bread
I used to think good crusty bread needed hours. This recipe changed my view.
The loaf is not the same as a long-rise loaf. It has less time to build deep flavor. Still, it can taste fresh and good.
The best part is the crust.
It turns crisp and firm in a hot oven. The inside stays soft if the dough has enough water.
I like this loaf for:
-
Fast bake time
-
Simple steps
-
Few basic items
-
Crisp crust
-
Soft inner crumb
-
No long wait
It works well with soup, eggs, pasta, or a warm bowl of stew.
The Simple Ingredients I Use
I keep this bread very plain. The goal is speed, so I do not add extra steps.
My Basic Mix
For one small loaf, I use:
-
3 cups all-purpose flour
-
1 1/2 cups warm water
-
2 teaspoons instant yeast
-
1 1/2 teaspoons salt
-
1 teaspoon sugar
-
1 tablespoon olive oil
The water should feel warm, not hot.
Very hot water can harm the yeast. Cool water can slow the rise.
I use instant yeast because it helps keep the process fast.
The sugar gives the yeast a small boost. It also adds a mild touch of taste.
Why High Heat Matters So Much
A crisp crust starts with heat.
I heat my oven well before the bread goes in. I also heat the baking pot if I use one.
A Dutch oven works very well for this style.
The hot pot helps the loaf rise fast. It also traps steam near the dough.
That steam helps the crust stay soft at first. Later, the crust turns crisp as the loaf bakes.
My Heat Setup
| Baking Method | Crust | Steam | Ease | My Pick |
|---|---|---|---|---|
| Dutch oven | Very crisp | High | Easy | Best |
| Baking sheet | Crisp | Low | Very easy | Good |
| Cast iron pan | Crisp | Medium | Easy | Good |
| Covered dish | Crisp | High | Easy | Great |
| Loaf pan | Soft | Low | Easy | Less ideal |
I reach for my Dutch oven when I want the best crust.
Still, a plain sheet pan can work.
How I Mix the Dough
I start with the flour, yeast, salt, and sugar.
I stir those dry items first.
Then I add the warm water and olive oil.
I mix with a spoon until the flour is gone.
The dough will look wet and rough. That is fine.
I do not knead it for a long time.
For a quick loaf, I knead it by hand for about five minutes.
I fold the dough, press it down, and turn it.
Soon, it feels smoother.
The dough should stay soft. It may still feel a bit sticky.
I do not add lots of flour just to stop the stick.
That can make the loaf dry.
Give the Dough a Short Rise
This is where the one hour plan gets tight.
I place the dough in a warm spot. Then I cover the bowl.
I let it rest for about 20 minutes.
The dough may not double in that time. That is okay.
I look for a clear change in size and feel.
It should look softer. It should also feel lighter.
Signs I Look For
-
Dough has puffed up
-
Surface feels soft
-
Small air spots show
-
Dough feels less dense
-
Shape has a bit more lift
A warm room can help speed this step.
I avoid a very hot spot. Too much heat can make the rise hard to control.
Shape the Loaf With Care
After the short rise, I turn the dough onto a lightly floured work top.
I shape it into a round.
I pull the edges toward the center. Then I turn the dough over.
Next, I gently roll it under my hands.
I want a smooth outer skin.
I do not press out all the air.
Those small air pockets help the bread feel light.
Once shaped, I let the dough rest while the oven finishes heating.
This short rest also makes scoring easier.
My Fast Baking Method
I heat the oven to 450°F.
If I use a Dutch oven, I heat it as well.
Then I place the dough on baking paper.
I make one deep cut across the top. A sharp knife or bread blade works well.
The cut gives the loaf room to expand.
I place the dough in the hot pot and cover it.
Then I bake it for about 20 minutes.
After that, I remove the lid.
I bake for another 10 to 15 minutes.
The crust should look deep brown.
I like a dark crust because it gives a stronger crunch.
Still, I watch it near the end. Small loaves can brown fast.
How I Get a Crisp Crust
The crust is the part I care about most.
Three things help me get it right.
Use high heat. A hot oven gives fast rise.
Use steam. A covered pot traps steam near the dough.
Finish uncovered. This lets the crust dry and crisp.
I also cool the bread on a rack.
That step matters more than it seems.
If I leave hot bread in the pot, steam can soften the crust.
The rack lets air move around the loaf.
I usually wait at least 10 minutes before cutting.
That wait feels long when the bread smells good.
Common Mistakes I Try to Avoid
Fast bread leaves less room for error.
Too Much Flour
Extra flour can make the dough stiff. A stiff dough may bake into a dense loaf.
I add flour only when the dough truly needs it.
Water That Is Too Hot
Hot water can harm yeast.
I use warm water that feels mild on my skin.
Skipping the Oven Preheat
A cool oven will not give the same crust.
I heat the oven well before baking.
Cutting Bread Too Soon
Hot bread can have a wet inner crumb.
I let it rest before I slice it.
Expecting Long-Rise Flavor
This is a quick loaf.
It can taste rich and fresh, but it may not have the deep taste of bread that rises for many hours.
That is a fair trade for speed.
Easy Ways I Change the Loaf
Once the plain loaf works, I like small changes.
I may add dried herbs to the dough.
Rosemary gives a sharp, earthy note. Garlic can add a warm bite.
I also like a small amount of grated cheese.
Good add-ins include:
-
Dried rosemary
-
Dried thyme
-
Garlic
-
Grated cheese
-
Sesame seeds
-
Black pepper
I keep the add-ins light.
Too many extras can change the dough balance.
For my first try, I always make the plain loaf.
That gives me a clear base to judge.
How I Know the Bread Is Done
I do not rely on crust color alone.
I tap the loaf and listen for a hollow sound.
I also check the base. It should feel firm.
If I have a food thermometer, I can check the inner bread too.
A fully baked loaf should not feel wet or heavy inside.
The crust should feel firm once the loaf cools.
If the top browns too fast, I lower the heat slightly or cover it loosely.
Each oven acts a bit differently.
That is why I stay close during the last few minutes.
What I Serve With This Bread
This loaf fits almost any simple meal.
I like it with:
-
Tomato soup
-
Lentil soup
-
Scrambled eggs
-
Pasta
-
Roast chicken
-
Cheese and fruit
-
Butter and jam
My favorite use is still soup.
I tear off a warm piece and dip it into the bowl.
The crisp crust softens in the broth. The soft crumb soaks up the rich soup.
That simple mix never feels dull.
FAQs About 1 Hour Crusty Bread Recipe
Can I really make crusty bread in one hour?
Yes, a small loaf can fit this time plan. Learn more about fast dough and hot oven baking.
Can I use active dry yeast instead?
Yes, but you may need a small change in the start step. Learn more about yeast swaps.
Why is my quick bread dense inside?
Too much flour or weak rise may cause this. Learn more about getting soft bread in less time.
Can I bake this bread without a Dutch oven?
Yes. A hot sheet pan can work, though the crust may be less crisp. Learn more about steam-free baking.
Why is my bread crust not crisp?
Low heat, low steam, or trapped moisture may be the cause. Learn more about crisp crust tips.
Final Takeaway
I like this loaf for nights when time feels tight. It does not need a long rise or a long list of steps. The hot oven does much of the work. The dough stays soft, while the crust turns crisp and brown. I let it cool just long enough to set. Then I slice it with a sharp knife. As the fading light falls across my desk, I hear the soft sound of my keyboard. The warm loaf waits beside me.