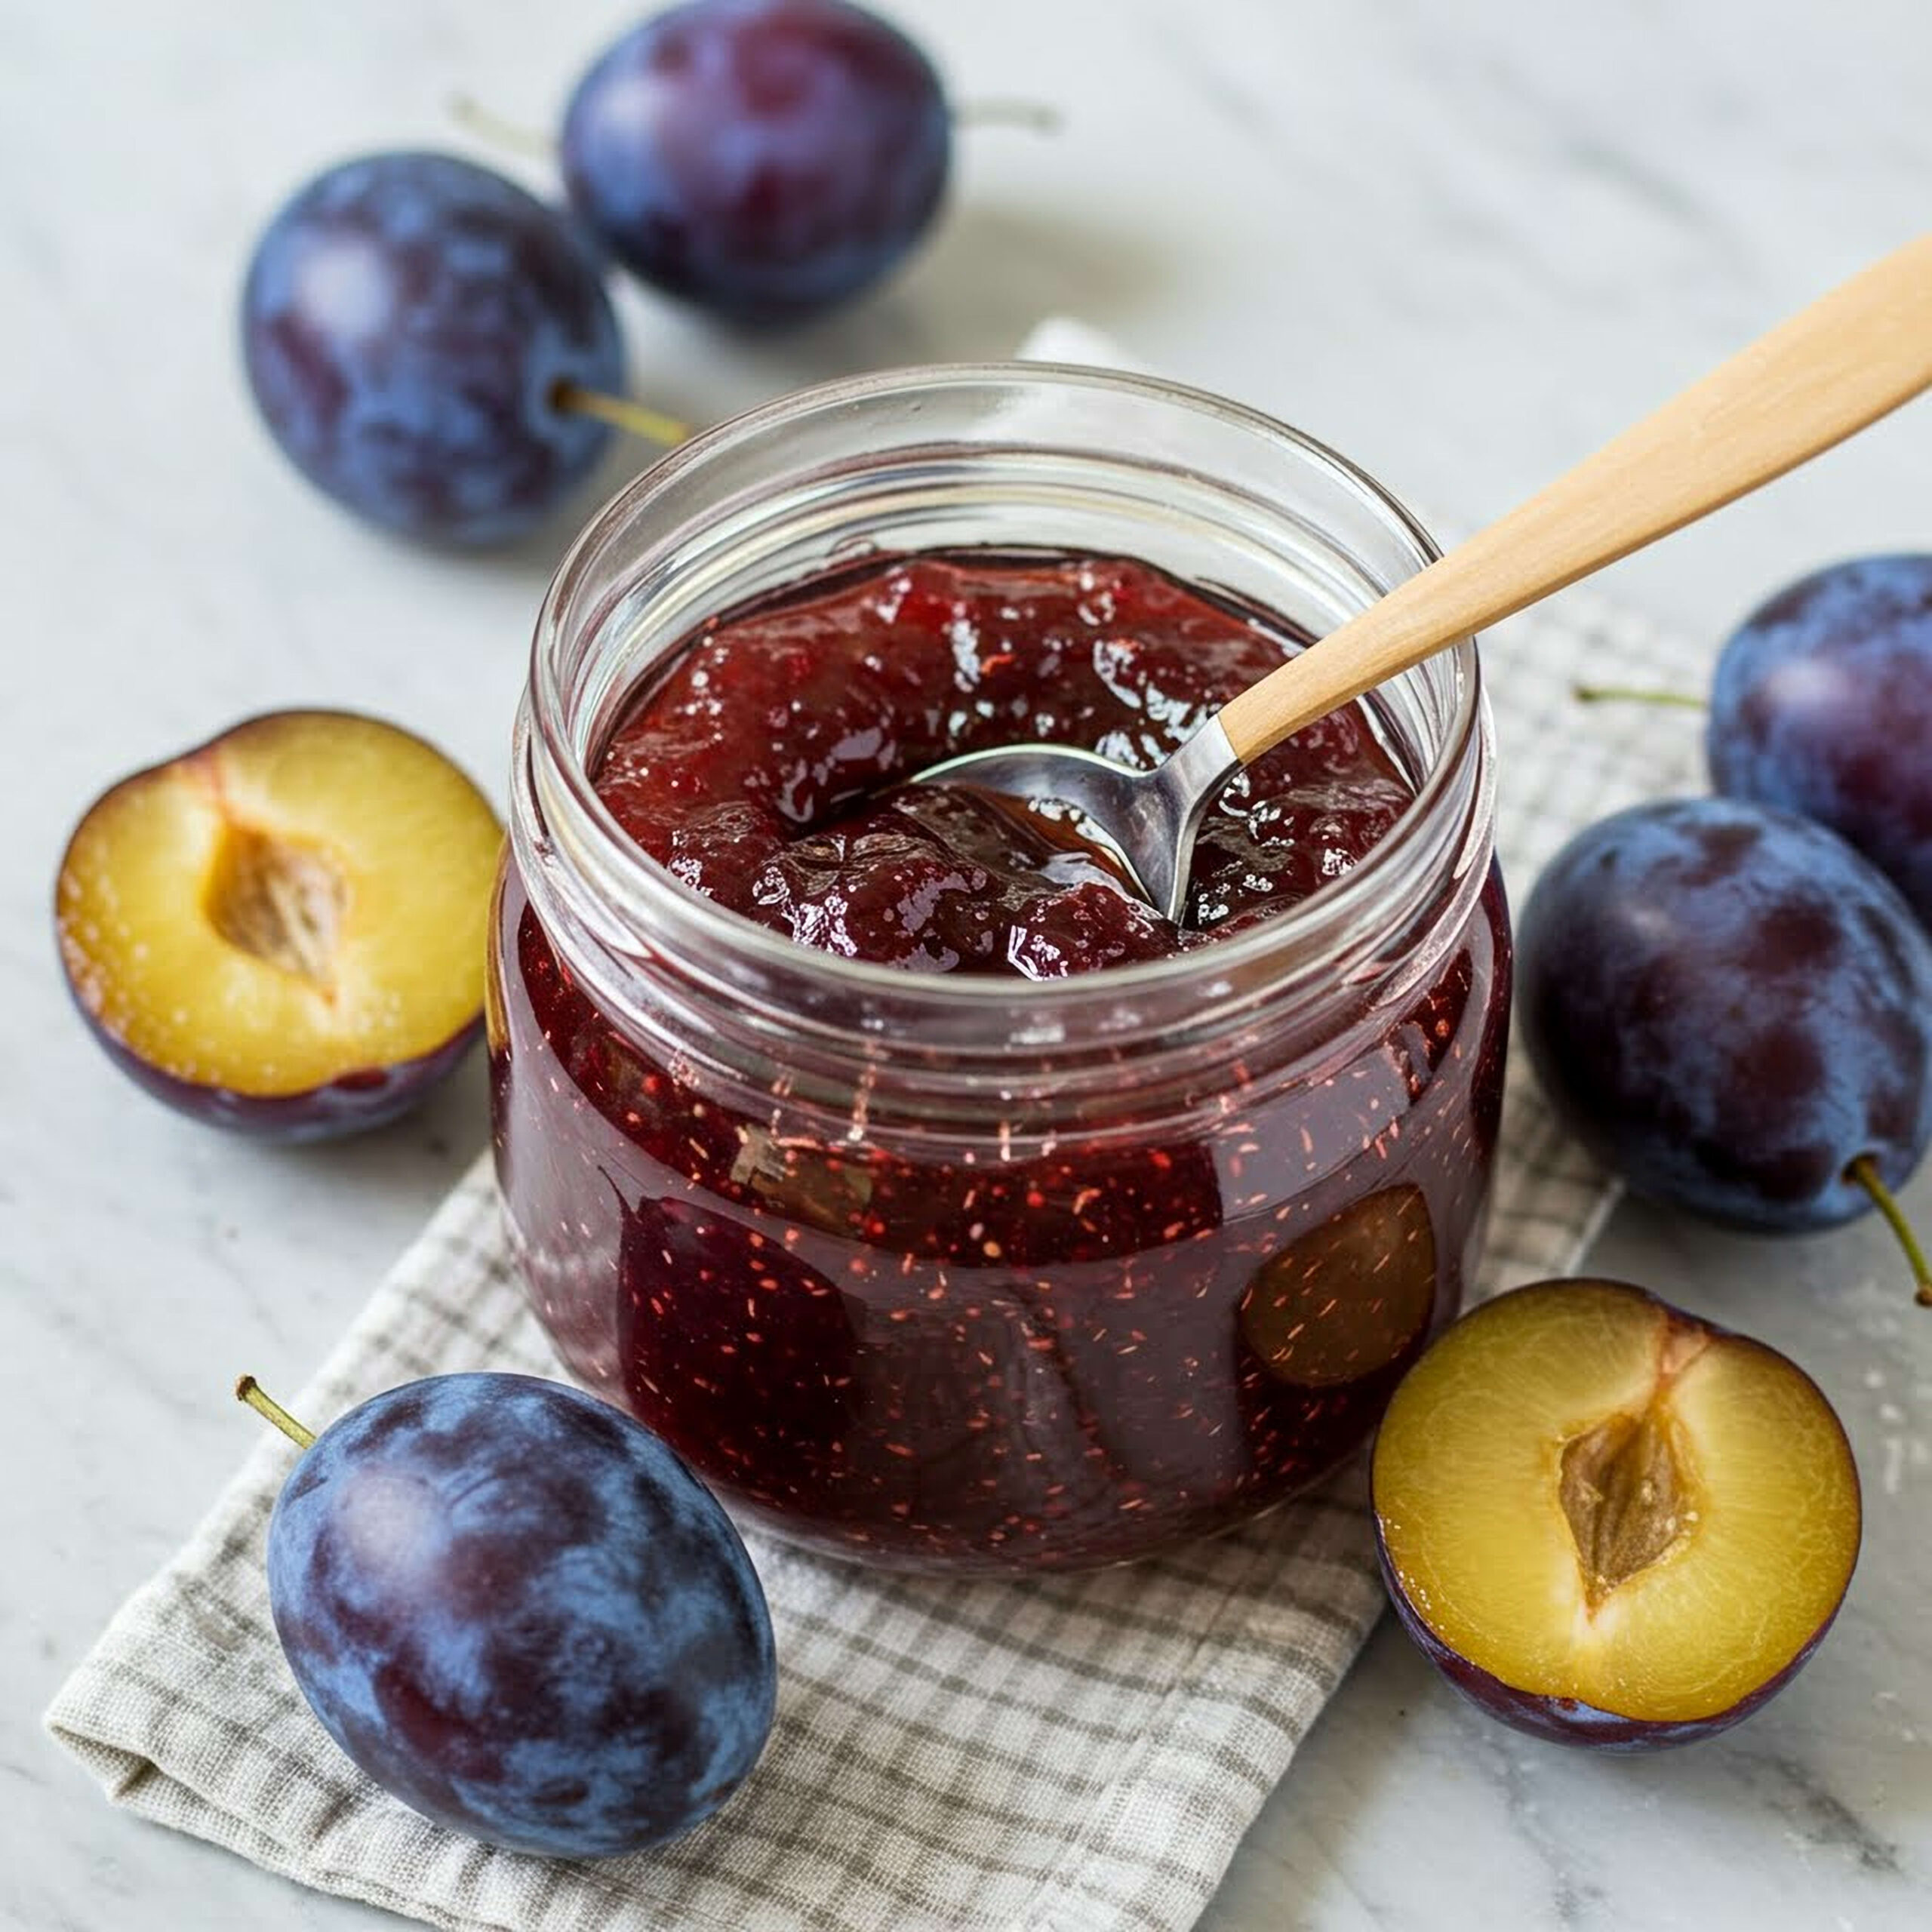
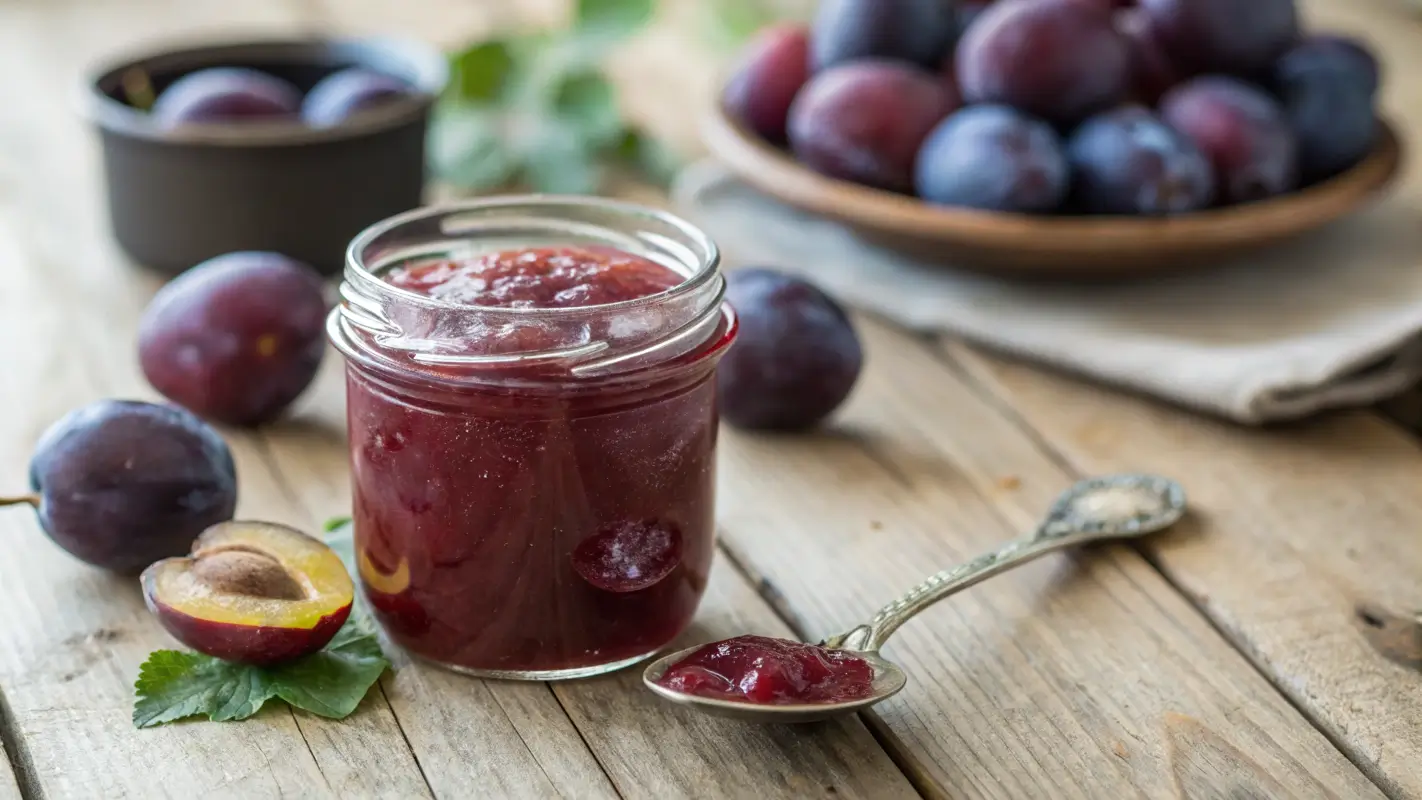
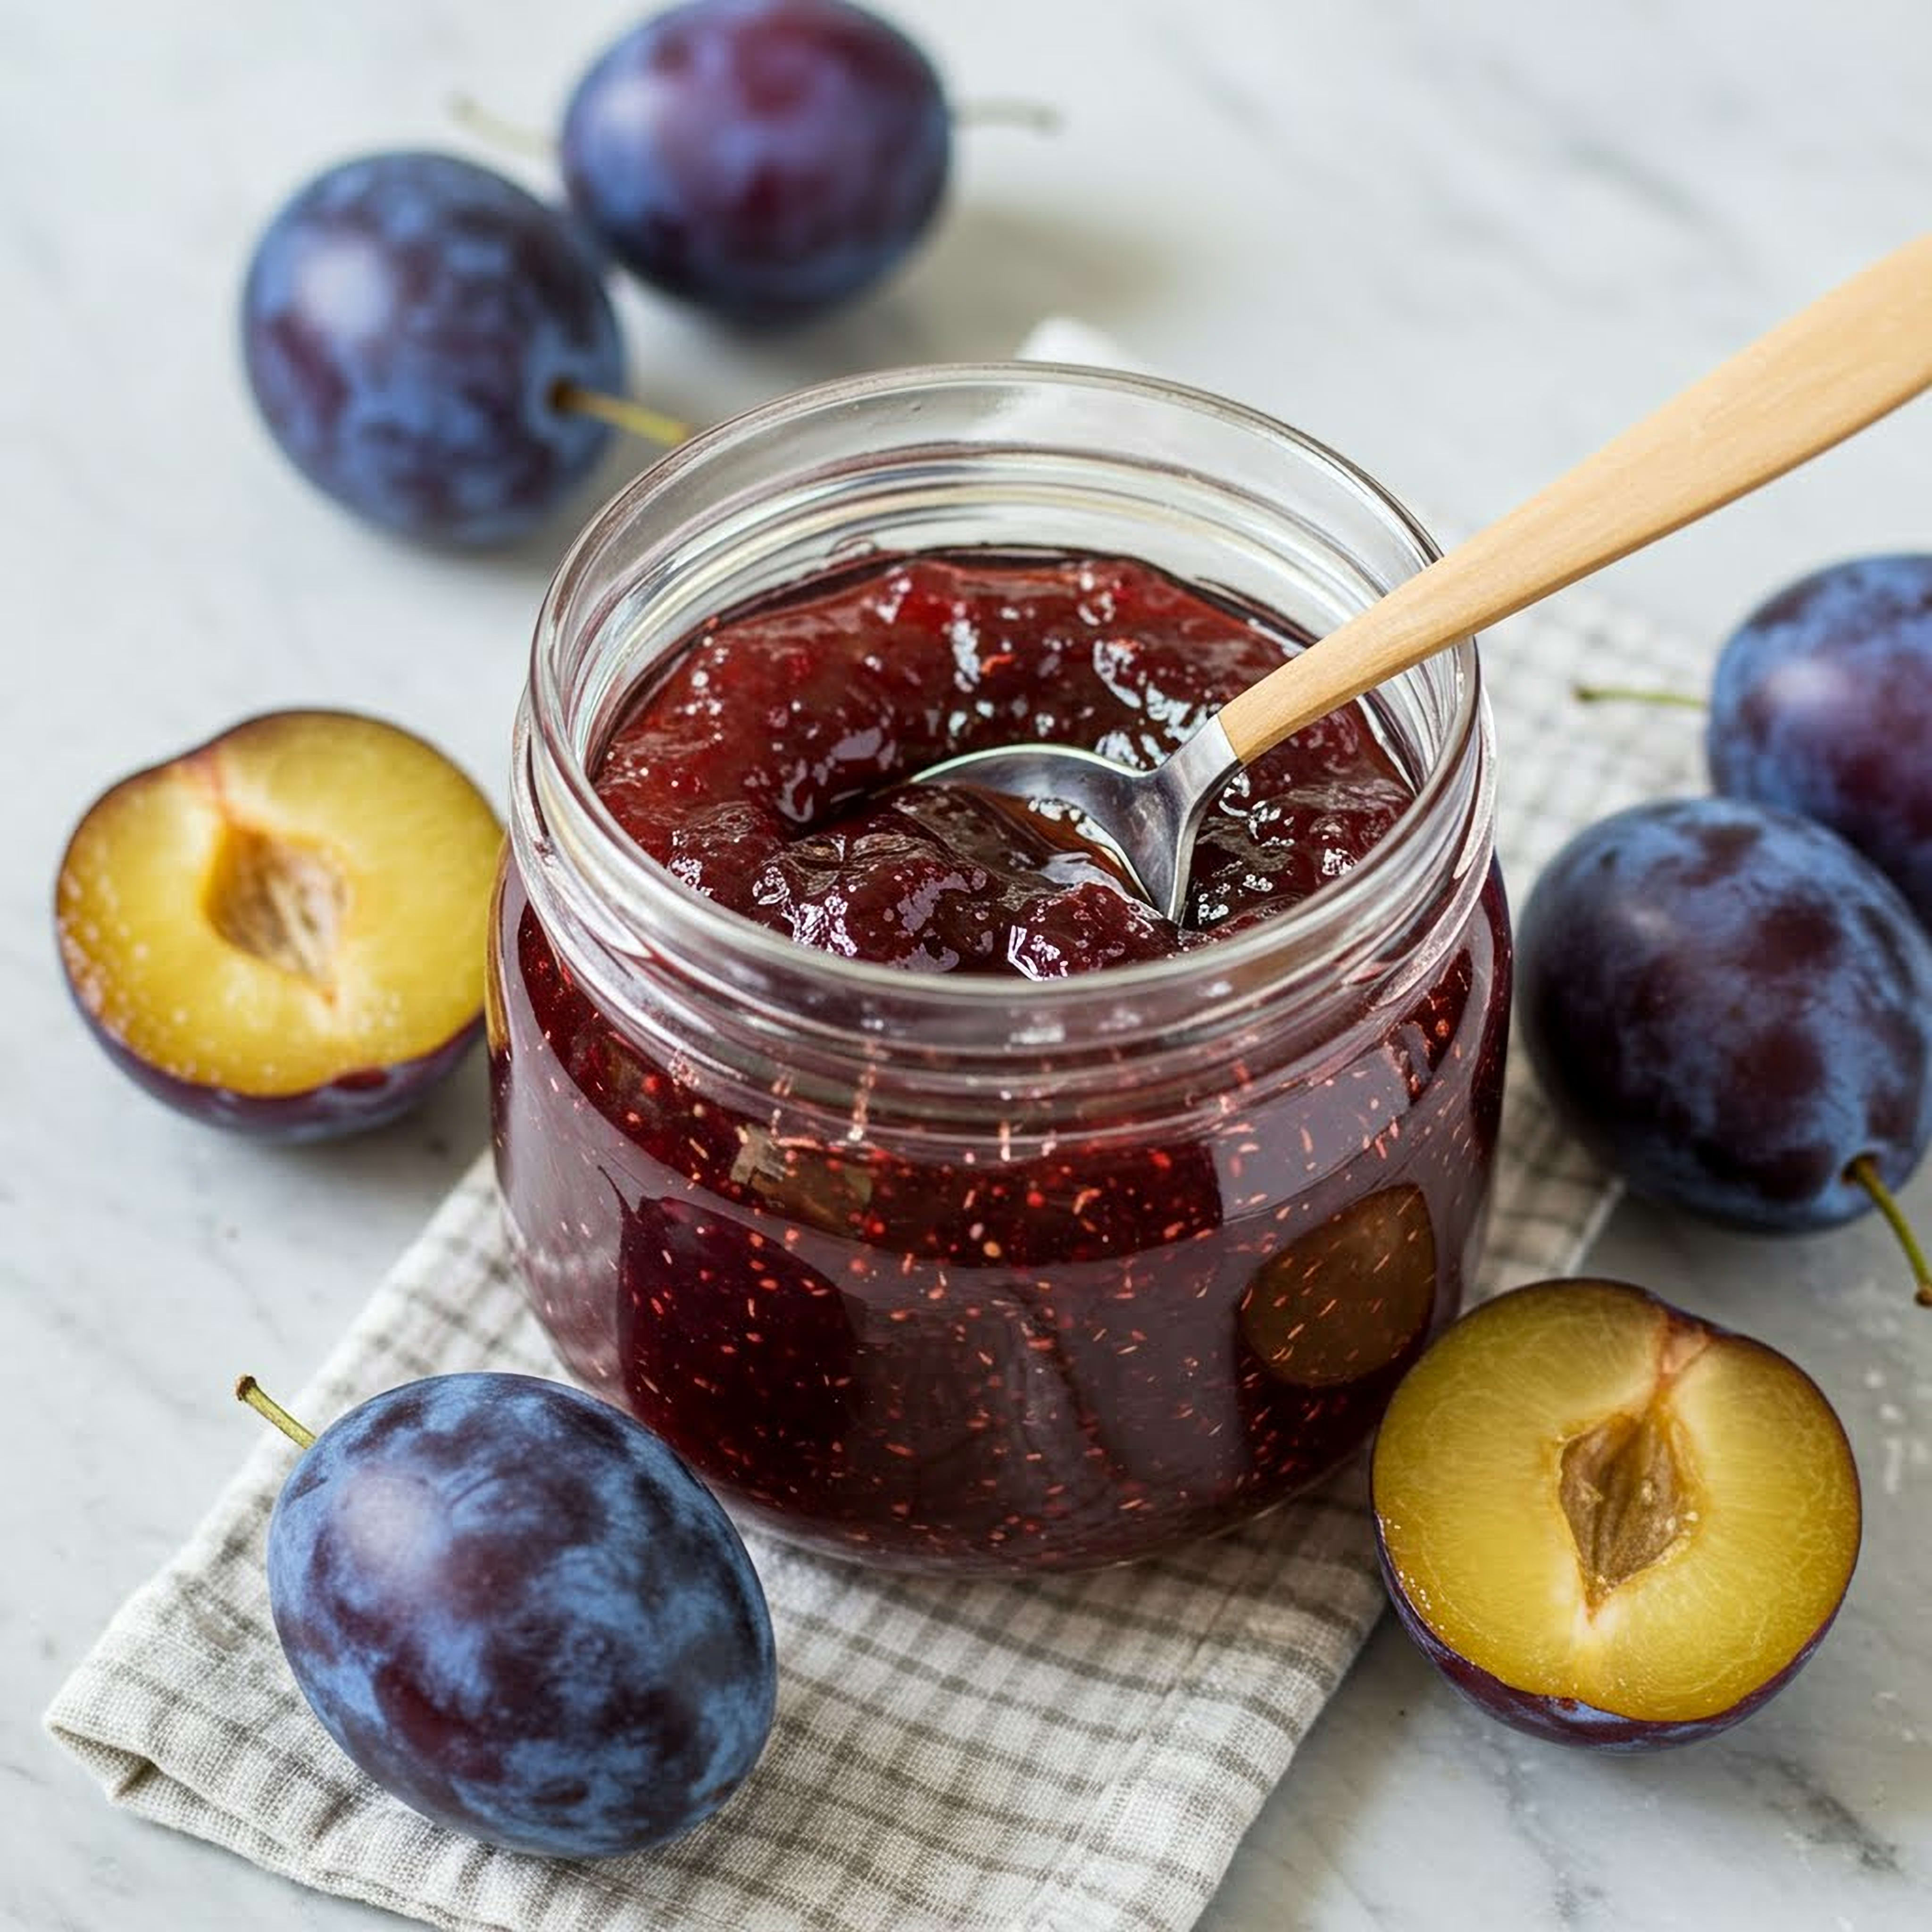
A plum jelly recipe with Sure Jell uses strained plum juice, sugar, and fruit pectin to make a smooth, fruity spread. Cook the juice with the pectin, add the measured sugar, bring it to a full rolling boil, and process filled jars using a tested canning method.
Across the United States, late summer often brings baskets of ripe plums from backyard trees, farmers markets, and grocery stores. Turning some of that fruit into homemade jelly is a useful way to enjoy its flavor long after plum season ends. Plum jelly has a smooth texture because the fruit solids are strained out before the juice is cooked.
Sure Jell is a fruit pectin product that helps juice form a gel when used with the right amounts of sugar, acid, and other ingredients. The exact method matters because changing the fruit juice, pectin, or sugar can affect how well the jelly sets. For a dependable batch, follow a current Sure Jell recipe that matches your pectin package and use an approved water bath canning process for shelf storage.
Plum jelly is made from fruit juice, while plum jam contains crushed or chopped fruit. That difference gives jelly its smooth, spreadable texture and often a clearer appearance. Jam is thicker in texture and may include bits of plum skin or pulp.
Plums have a naturally rich flavor that can range from tart to sweet, depending on the variety and ripeness. Red and purple plums may give the finished jelly a deep ruby shade, although the final color varies with the fruit. Yellow plums can produce a lighter jelly.
Sure Jell helps the juice form a gel, but it does not replace careful measuring or safe processing. Pectin products may have different formulas and directions, so check the label before beginning. A recipe written for one type of pectin should not automatically be used with another.
Source: www.pinterest.com
Jelly
Made from strained juice for a smooth spread without pieces of fruit.
Jam
Made with crushed or chopped fruit, so the finished spread has more texture.
Fruit butter
Cooked fruit pulp forms a thick, soft spread. It follows a different method from clear jelly.
Why Use Sure Jell?
Fruit pectin is a natural substance that helps a fruit mixture form a gel. Commercial pectin gives the cook a more controlled method than relying on the fruit’s natural pectin alone. The amount of sugar and the cooking method still matter, so pectin should be used according to its package directions.
A more predictable set
Using the correct pectin recipe helps reduce guesswork when making jelly.
A clear method
The package provides directions for the product type, including when to add the sugar and how long to boil the mixture.
Ingredients for Plum Jelly With Sure Jell
The main ingredients are plum juice, granulated sugar, and Sure Jell fruit pectin. Some tested recipes also use lemon juice or another acid source, but the amount depends on the recipe. Do not add extra acid or water just because the juice tastes sweet or thick.
The ingredient amounts below explain what you need to prepare, not a replacement formula for a tested canning recipe. Plum varieties differ in juice yield and acidity. Choose a current recipe designed for plum jelly and the exact pectin product you have, then measure each ingredient as directed.
Source: thepaellarecipes.com
Fresh plums
Choose sound, ripe fruit without mold, rot, or badly damaged areas. Wash well and remove stems and pits as required by your juice-making method.
Sure Jell fruit pectin
Use the type named in your recipe. Regular pectin and low-sugar pectin are not interchangeable without a suitable recipe.
Granulated sugar
Measure the exact amount. Sugar affects more than sweetness; it also plays a role in how many traditional pectin jelly recipes set.
Water, if needed
Use only the amount specified in the recipe to cook the plums or prepare the juice.
Lemon juice, if specified
Add it only when required by the chosen tested formula and in the stated amount.
Choosing Plums for the Best Flavor
Fresh, ripe plums usually give the juice a pleasant balance of fruit flavor and tartness. Fruit that is hard and underripe may give less juice, while overripe fruit can have a dull flavor or signs of spoilage. A mix of sweet and tart plums may taste appealing, but use it only within a recipe that accommodates the fruit you have.
Check the fruit
Discard moldy or rotten plums rather than trying to cook away the damage.
Wash before cutting
Rinse the fruit under clean running water and use clean utensils and work surfaces.
Equipment to Prepare Before You Start
Set out your equipment before turning on the stove. Jelly cooks quickly once the juice reaches a rolling boil, and stopping to find a spoon or jar lifter can make the process harder. A clean, organized work area also helps reduce the chance of spills and contamination.
For shelf-stable jelly, use canning jars intended for home canning, compatible lids, and a boiling-water canner or suitable deep pot with a rack. The jars must be covered by water during processing, with the depth and timing specified by your tested recipe.
Source: www.pinterest.com
Large, heavy pot
Choose a pot with enough room for the mixture to boil without spilling over. Pectin jelly can foam as it cooks.
Fine strainer or jelly bag
Use it to separate juice from skins, pulp, and other fruit solids.
Dry measuring tools
Measure sugar and other dry ingredients accurately, and measure juice in a suitable liquid measuring cup.
Canning jars and lids
Use jars made for home canning and inspect them for chips or cracks before filling.
Jar lifter and canning rack
These tools help keep hot jars upright and allow boiling water to circulate around them.
Prepare the Jars Safely
Wash jars and inspect them before use. Prepare and heat jars as directed by the canning recipe and current USDA guidance. Follow the lid manufacturer’s instructions, since lid preparation requirements can differ. Do not reuse single-use canning lids or use jars with damaged rims.
Keep jars hot when required
Hot jelly should go into jars prepared according to the tested method. Sudden temperature changes can cause glass to break.
Keep the rim clean
Food on the rim can prevent a proper seal, so wipe it as directed before fitting the lid.
How to Make Plum Juice for Jelly
Start by extracting juice from clean plums. The goal is to soften the fruit enough to release its juice, then strain out the solids. Follow a tested plum juice preparation method for the quantity of fruit and water, since the amount of water used can change the concentration of the juice.
Do not squeeze the fruit pulp hard if you want clear jelly. Pressing or twisting the bag can force fine particles into the juice, making the finished jelly cloudy. Cloudiness does not always mean the jelly is unsafe, but gentle straining helps create the traditional clear look.
Source: fnbbuzz.com
Step 1: Wash and Prepare the Plums
Rinse the plums under running water and remove stems, leaves, and damaged parts. Cut the fruit as needed for the cooking method and remove pits if the chosen recipe calls for it. Keep the fruit preparation consistent with the tested recipe rather than guessing how much fruit will produce a set amount of juice.
Use sound fruit
Do not use fruit that shows mold or active decay.
Step 2: Cook the Fruit Until Soft
Place the prepared plums in a suitable pot with the amount of water stated in your juice recipe. Heat gently until the fruit softens and releases juice. Stir as needed to prevent sticking, but avoid adding extra water unless the method tells you to.
Watch the heat
A steady simmer is easier to manage than a hard boil that splashes hot fruit liquid.
Step 3: Strain the Juice
Pour the softened fruit into a clean jelly bag or fine strainer over a large bowl. Let the juice drain without forceful squeezing. Measure the strained juice only after the draining step is complete, then use the exact quantity required by the tested jelly recipe.
Measure carefully
Too much juice can dilute the pectin and sugar balance. Save any extra juice for another use instead of pouring it all into the batch.
Step-by-Step Plum Jelly Recipe With Sure Jell
Once the plum juice is ready, the next step is to combine it with the correct amount of pectin and sugar. Because pectin products and recipes vary, use the ingredient quantities and boiling times printed in the specific tested Sure Jell plum jelly recipe you are following. The steps below explain the process without inventing a universal formula.
Traditional jelly recipes often require the pectin and juice to reach a full rolling boil before sugar is added. A rolling boil continues even while the mixture is stirred. After adding sugar, bring the mixture back to that boil and follow the recipe’s stated cooking time.
Source: fnbbuzz.com
Step 1: Measure the Plum Juice
Measure the strained juice in a liquid measuring cup. Confirm that you have exactly the amount required by your recipe. If you have less, do not automatically reduce the other ingredients; use a recipe adjustment that is specifically approved for that pectin, or prepare another batch of juice.
Keep the batch size exact
The amount of juice is linked to the pectin and sugar amounts. Guessing can lead to a soft set.
Step 2: Add the Pectin
Pour the measured juice into a large pot and add Sure Jell as directed by the package recipe. Stir well to distribute the pectin. Heat the mixture using the stated method and watch for a full rolling boil.
Avoid changing pectin types
If you have a low-sugar formula, follow its own instructions rather than substituting it into a regular-pectin recipe.
Step 3: Add the Measured Sugar
Measure the sugar before you begin cooking so it is ready to add at the correct stage. Pour it into the boiling juice and pectin mixture as directed, stirring until it dissolves. Return the mixture to a full rolling boil and use the cooking time specified by the recipe.
Do not cut the sugar at random
A reduction may affect the gel and can make a traditional pectin recipe unreliable. Choose a tested low-sugar recipe if you want less sugar.
Step 4: Fill the Prepared Jars
Remove the cooked jelly from the heat and skim foam if the recipe instructs you to do so. Ladle the hot jelly into prepared canning jars, leaving the headspace specified in the tested recipe. Clean the rims, apply the lids, and tighten the bands according to the jar and lid instructions.
Leave the correct headspace
Headspace is the space between the jelly and the top of the jar. Too much or too little can interfere with processing or sealing.
Step 5: Process the Jars in a Water Bath
Place the filled jars on the canner rack and ensure the water covers them by the amount stated in the tested recipe. Bring the canner to a full boil, then start timing the process. Use the processing time for your jar size, recipe, and altitude. If the boil stops during processing, return the water to a full boil and restart the timing according to current canning guidance.
When processing ends, turn off the heat and follow the recipe’s instructions for removing the lid and lifting the jars out. Set jars upright on a towel or rack with space between them. Do not press the lids, tighten bands, or move jars around while they cool.
Adjust for altitude
Water boils at a lower temperature at higher elevations, so tested canning directions may require a longer processing time.
Use proper processing
Filling hot jars alone does not make jelly shelf-stable. Follow a tested boiling-water canning process.
How to Tell When Plum Jelly Has Set
Freshly cooked jelly may look thin, so do not judge the final texture while it is still hot. Pectin jelly often firms as it cools. Leave the jars undisturbed for the cooling period recommended by the tested recipe, usually about 12 to 24 hours, before checking the seals and judging the set.
A properly set jelly should hold together on a spoon and spread without behaving like juice. Some variation is normal because fruit composition and kitchen conditions differ. If the jelly remains soft after it has fully cooled, identify the cause before trying to fix it.
Source: operacook.com
Check the cooled texture
Allow the full cooling period before deciding whether the jelly has failed to set.
Check each jar’s seal
A sealed lid should be concave and should not flex when checked according to current canning guidance.
Do not rely on the seal alone
A sealed jar is not proof that the recipe was prepared and processed safely.
What If the Jelly Is Too Soft?
A soft set may result from inaccurate measurements, the wrong pectin type, insufficient cooking, or a recipe that does not match the fruit juice. First, allow the jelly to cool fully. If it remains too soft, use a tested reprocessing method appropriate for that pectin and jelly, or refrigerate it for short-term use. Do not add dry pectin directly to finished jars and assume that the problem is solved.
Review the recipe
Check the pectin type, juice amount, sugar amount, and cooking steps.
Use tested reprocessing directions
Re-cooking may be possible, but the method and added ingredients must match an approved procedure.
Common Plum Jelly Problems and How to Fix Them
Most texture problems start with measurements or cooking steps. Cloudiness, weak flavor, and a soft set can have different causes, so do not add extra pectin or sugar without identifying what went wrong. Check the recipe and product directions first.
Source: www.pinterest.com
Jelly did not set
Check whether the juice, sugar, and pectin were measured correctly and whether the mixture reached the required boil for the stated time. Use a tested reprocessing procedure if one is available for your recipe.
Jelly is cloudy
The fruit pulp may have passed through the strainer, or the juice bag may have been squeezed. Gentle straining can help improve clarity in the next batch.
Jelly is too firm
Too much pectin, too little juice, or excessive cooking may affect the texture. Recheck measurements before making another batch.
Jelly has foam
Foam can form during cooking. Skim it as directed by the recipe, and avoid stirring more vigorously than needed.
Jelly has a burnt taste
The mixture may have overheated or stuck to the bottom of the pot. Use a suitable heavy pot and stir as directed during cooking.
Can You Use Less Sugar?
You can make a lower-sugar plum spread, but you should not simply cut the sugar in a traditional Sure Jell recipe. Regular pectin recipes depend on a tested balance of ingredients. Select a low-sugar or no-sugar-needed pectin and follow a recipe designed for that product.
Choose a matching recipe
Use the directions for the exact pectin product instead of adapting a traditional formula by guesswork.
Safe Storage for Homemade Plum Jelly
Properly processed and sealed jars can be stored in a cool, dark, dry place, provided the recipe and processing method are approved for shelf storage. Remove the screw bands if the canning guidance recommends it, and label each jar with the contents and date. Store jars away from heat, direct sunlight, and damp areas.
Refrigerate jelly from jars that did not seal properly, or freeze it if you are using a suitable freezer container and recipe. Follow current food preservation guidance for storage times and handling. After opening a jar, keep it refrigerated and use a clean utensil to remove jelly.
Never taste jelly that shows mold, fermentation, leakage, an unusual odor, or other signs of spoilage. Do not scrape mold off the surface and eat the rest. Discard the contents safely without tasting them.
Source: fnbbuzz.com
Before opening
Check the jar for leaks, a broken seal, bulging, or other signs of spoilage.
After opening
Keep the jar refrigerated and follow current food preservation guidance for use after opening.
For long-term storage
Use a tested recipe and the correct boiling-water canning process. Do not assume that a hot-fill method alone is enough.
Why Safe Canning Directions Matter
Home canning safety depends on the food’s acidity, the recipe, jar size, preparation method, and processing conditions. A recipe from a blog or an old family note may not provide enough detail to establish safe shelf storage. When directions conflict, use current guidance from the USDA, the National Center for Home Food Preservation, or the specific tested recipe provided by the pectin manufacturer.
Do not guess processing times
Use the time and altitude adjustments in the tested recipe rather than estimating based on how long the jars seem hot.
Ways to Serve Homemade Plum Jelly
Plum jelly has a sweet-tart flavor that works with both simple snacks and savory meals. Its smooth texture makes it easy to spread, stir, or brush over food. Start with a small amount when pairing it with strongly flavored dishes, then add more to taste.
Source: kraftheinz.com
Breakfast toast
Spread plum jelly on toast, English muffins, biscuits, or warm homemade bread.
Peanut butter sandwiches
Use plum jelly in place of grape jelly for a fruitier, slightly different sandwich.
Yogurt and oatmeal
Stir a spoonful into plain yogurt or warm oatmeal for added sweetness and fruit flavor.
Glazes and sauces
Use a small amount in a cooked glaze or sauce, adjusting salt and acidity to suit the dish.
Cheese boards
Serve it with mild cheeses and crackers for a sweet contrast.
How to Make the Flavor Your Own
For future batches, choose a plum variety with a flavor you enjoy and follow a tested recipe that suits it. Do not add fresh herbs, spices, extra fruit, or other low-acid ingredients to a shelf-stable canning recipe unless an approved formula allows them. Add flavorings at the table or use the jelly in a cooked dish when you want to experiment.
For a brighter taste
Pair the finished jelly with foods that have a little salt or tang.
For a thicker spread
Choose an approved jelly or jam recipe with the texture you want rather than changing the pectin balance at random.
Frequently Asked Questions
Q
Can I make plum jelly with Sure Jell without removing the skins?
You can cook plums with their skins when extracting juice if your recipe allows it. The important step is to strain the juice before making clear jelly. Leaving pieces of skin or pulp in the finished mixture will give it a texture closer to jam.
Q
Do I have to use lemon juice in plum jelly?
Use lemon juice only when the tested recipe calls for it, and measure the stated amount. Plum varieties differ in acidity, so do not assume that every batch needs the same extra acid or that taste alone can establish safe canning conditions.
Q
Why is my plum jelly still runny after cooling?
Let the jars cool for the full period recommended by the recipe before judging the set. If the jelly is still runny, check the juice, pectin, and sugar measurements and review the boiling steps. Use a tested reprocessing method if appropriate, or refrigerate the jelly for short-term use.
Q
Can I use frozen plums to make plum jelly?
Frozen plums may work when thawed and prepared according to a tested juice or jelly recipe. Drain and measure the juice as directed, and do not assume that frozen fruit will yield the same amount of juice as fresh fruit. Use the correct pectin formula for the batch.
Q
Can I reduce the sugar in a Sure Jell plum jelly recipe?
Do not reduce the sugar in a traditional pectin recipe unless its instructions permit that change. Use a tested low-sugar or no-sugar-needed pectin recipe instead. This helps the jelly reach the intended texture and keeps you from relying on an untested ingredient balance.
Q
How long should I process plum jelly in a water bath?
The correct processing time depends on the tested recipe, jar size, and altitude. Follow the specific instructions from a reliable home canning source or the pectin manufacturer. Do not use a guessed time or assume that all jelly recipes have the same processing requirements.
Q
Can I store plum jelly on the shelf if the lid seals?
A sealed lid alone does not prove that the jelly is safe for shelf storage. Use a tested recipe and complete the required boiling-water canning process, including any altitude adjustment. Refrigerate jars that fail to seal and follow current preservation guidance.
✦ Wrapping Up
Conclusion
A plum jelly recipe with Sure Jell turns fresh plum juice into a smooth spread that works well on toast, biscuits, and many other foods. The key steps are simple: prepare and strain the juice, measure every ingredient, follow the pectin directions, and cook the mixture as instructed.
Good results depend on using the right formula for your pectin and fruit. For shelf-stable jars, finish with a tested water bath canning process and follow the required time and altitude adjustments. Once the jars cool, check their seals and store them according to reliable home food preservation guidance.
💡 Key Takeaway
Before cooking, choose a tested Sure Jell plum jelly recipe for your exact pectin product, measure the required juice and sugar, and prepare the canner and jars. This simple preparation makes the cooking steps easier to manage and helps you avoid guesswork.