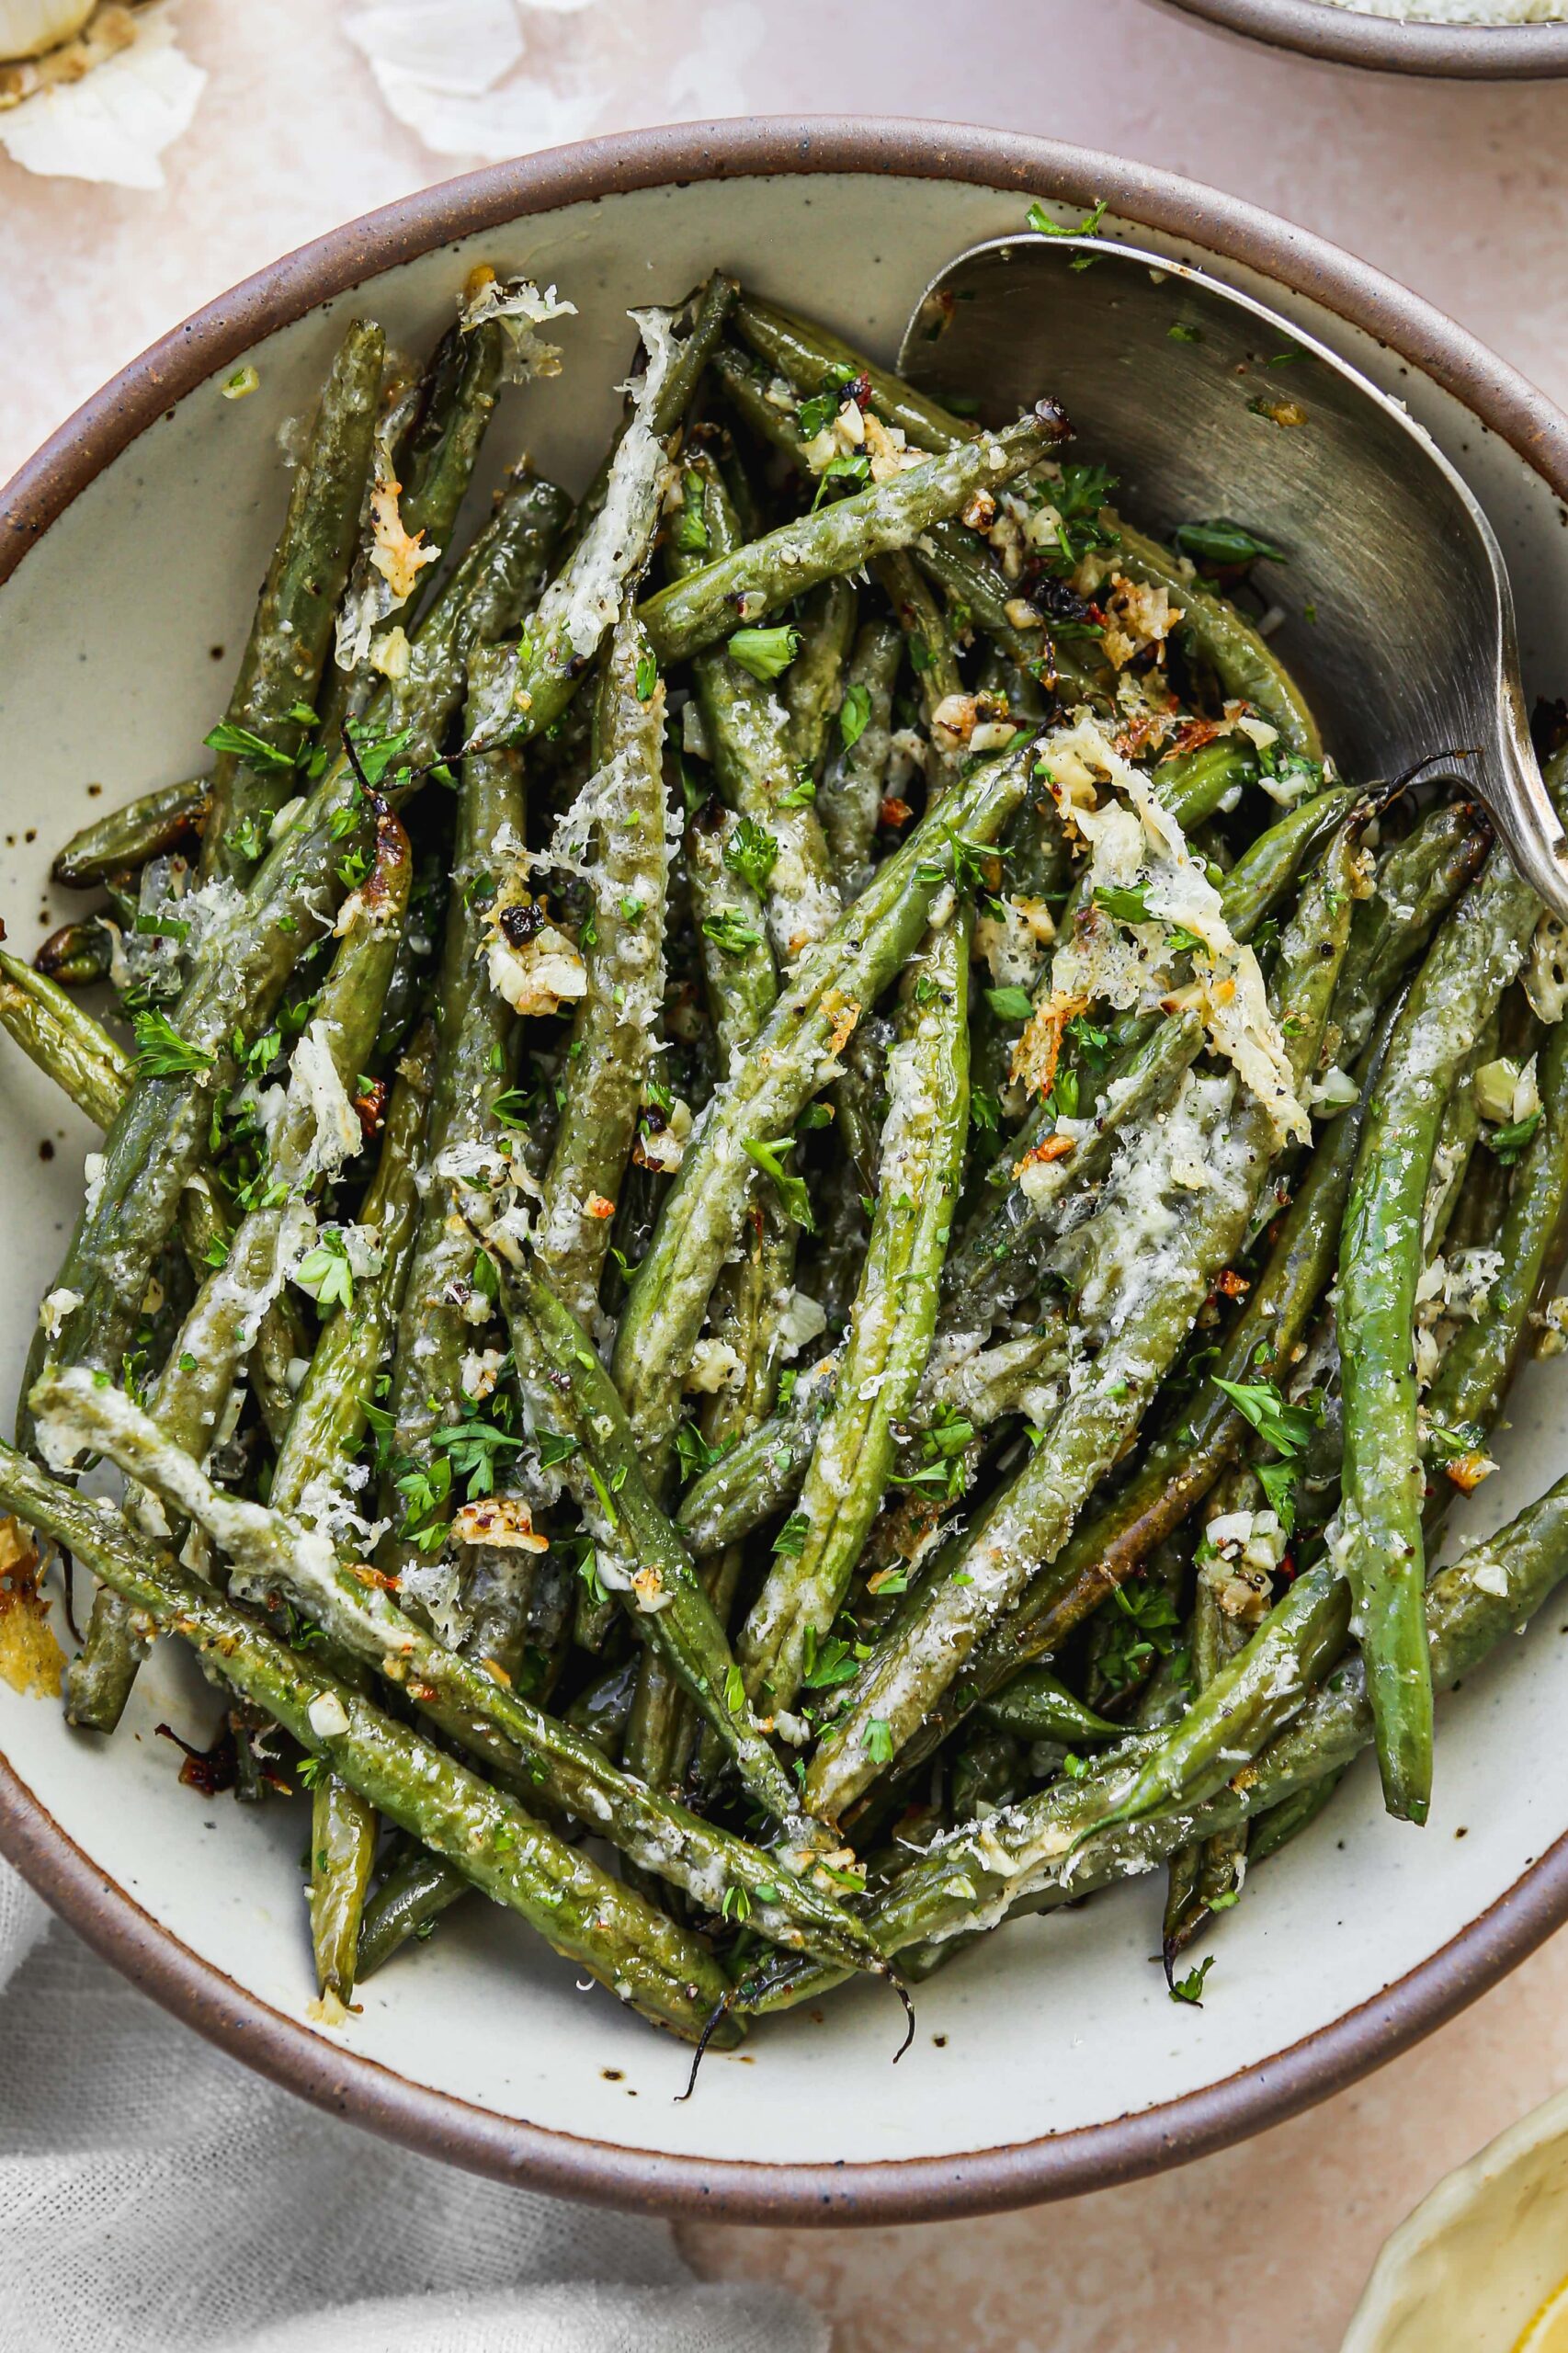
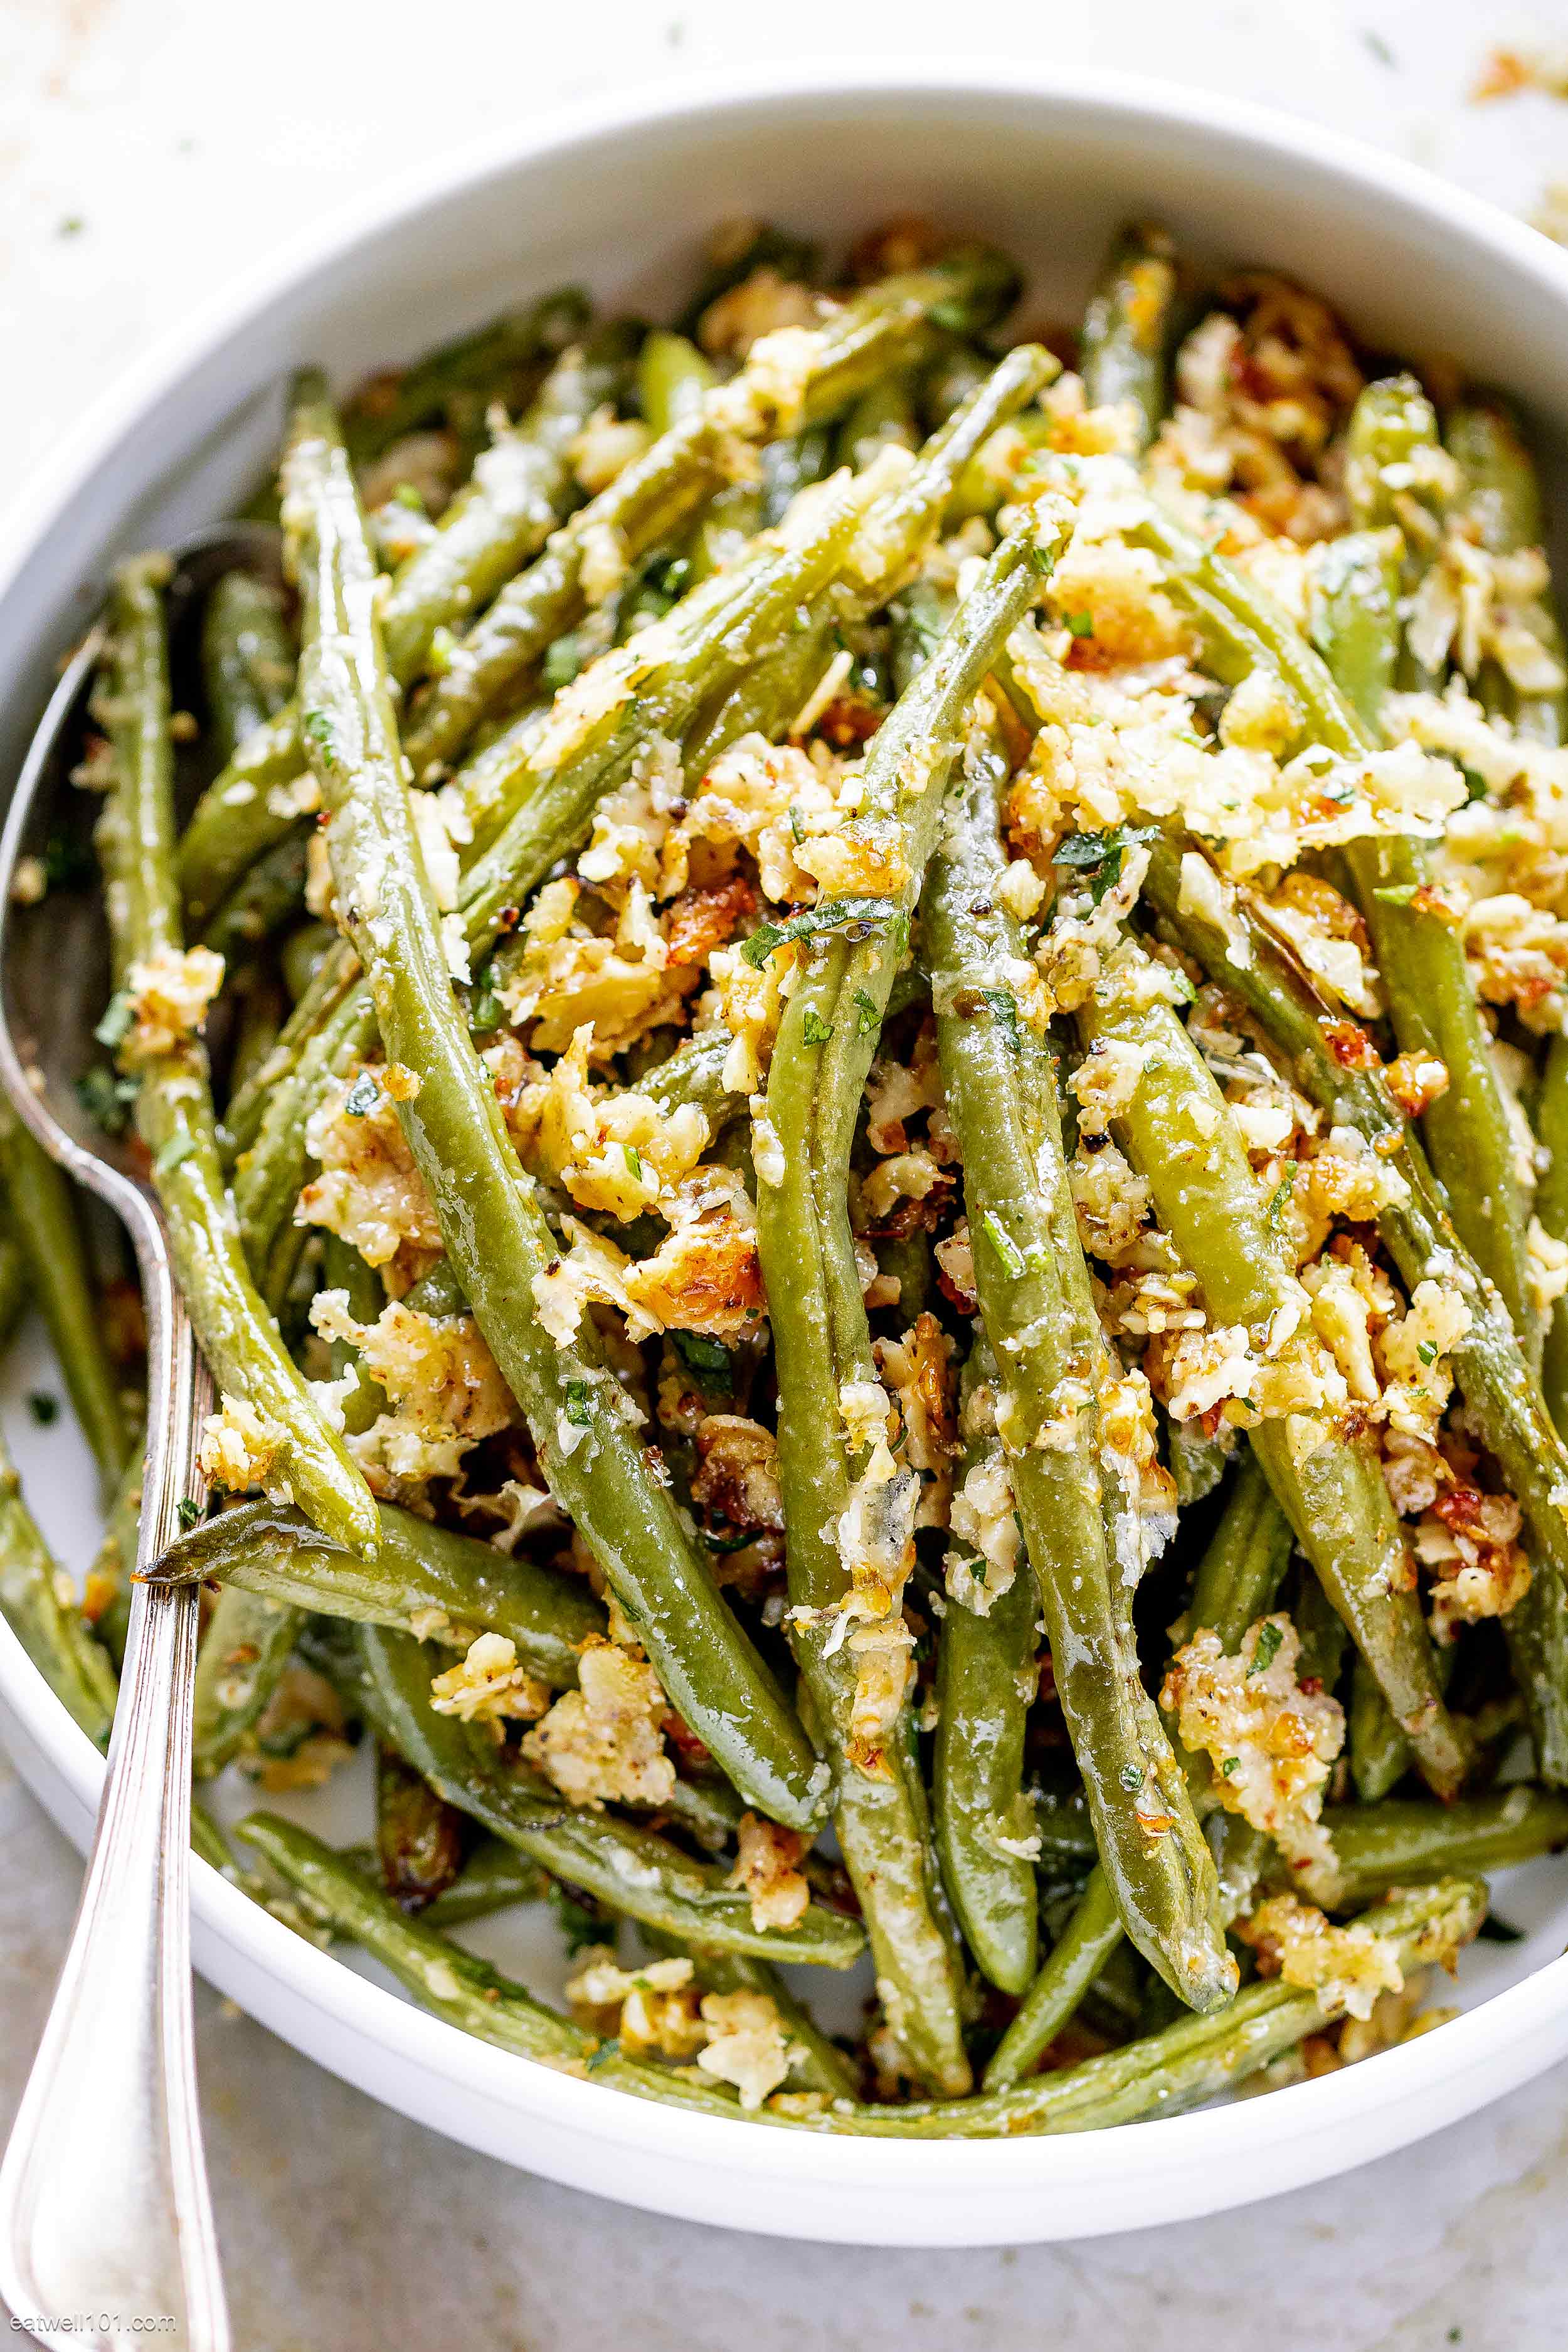
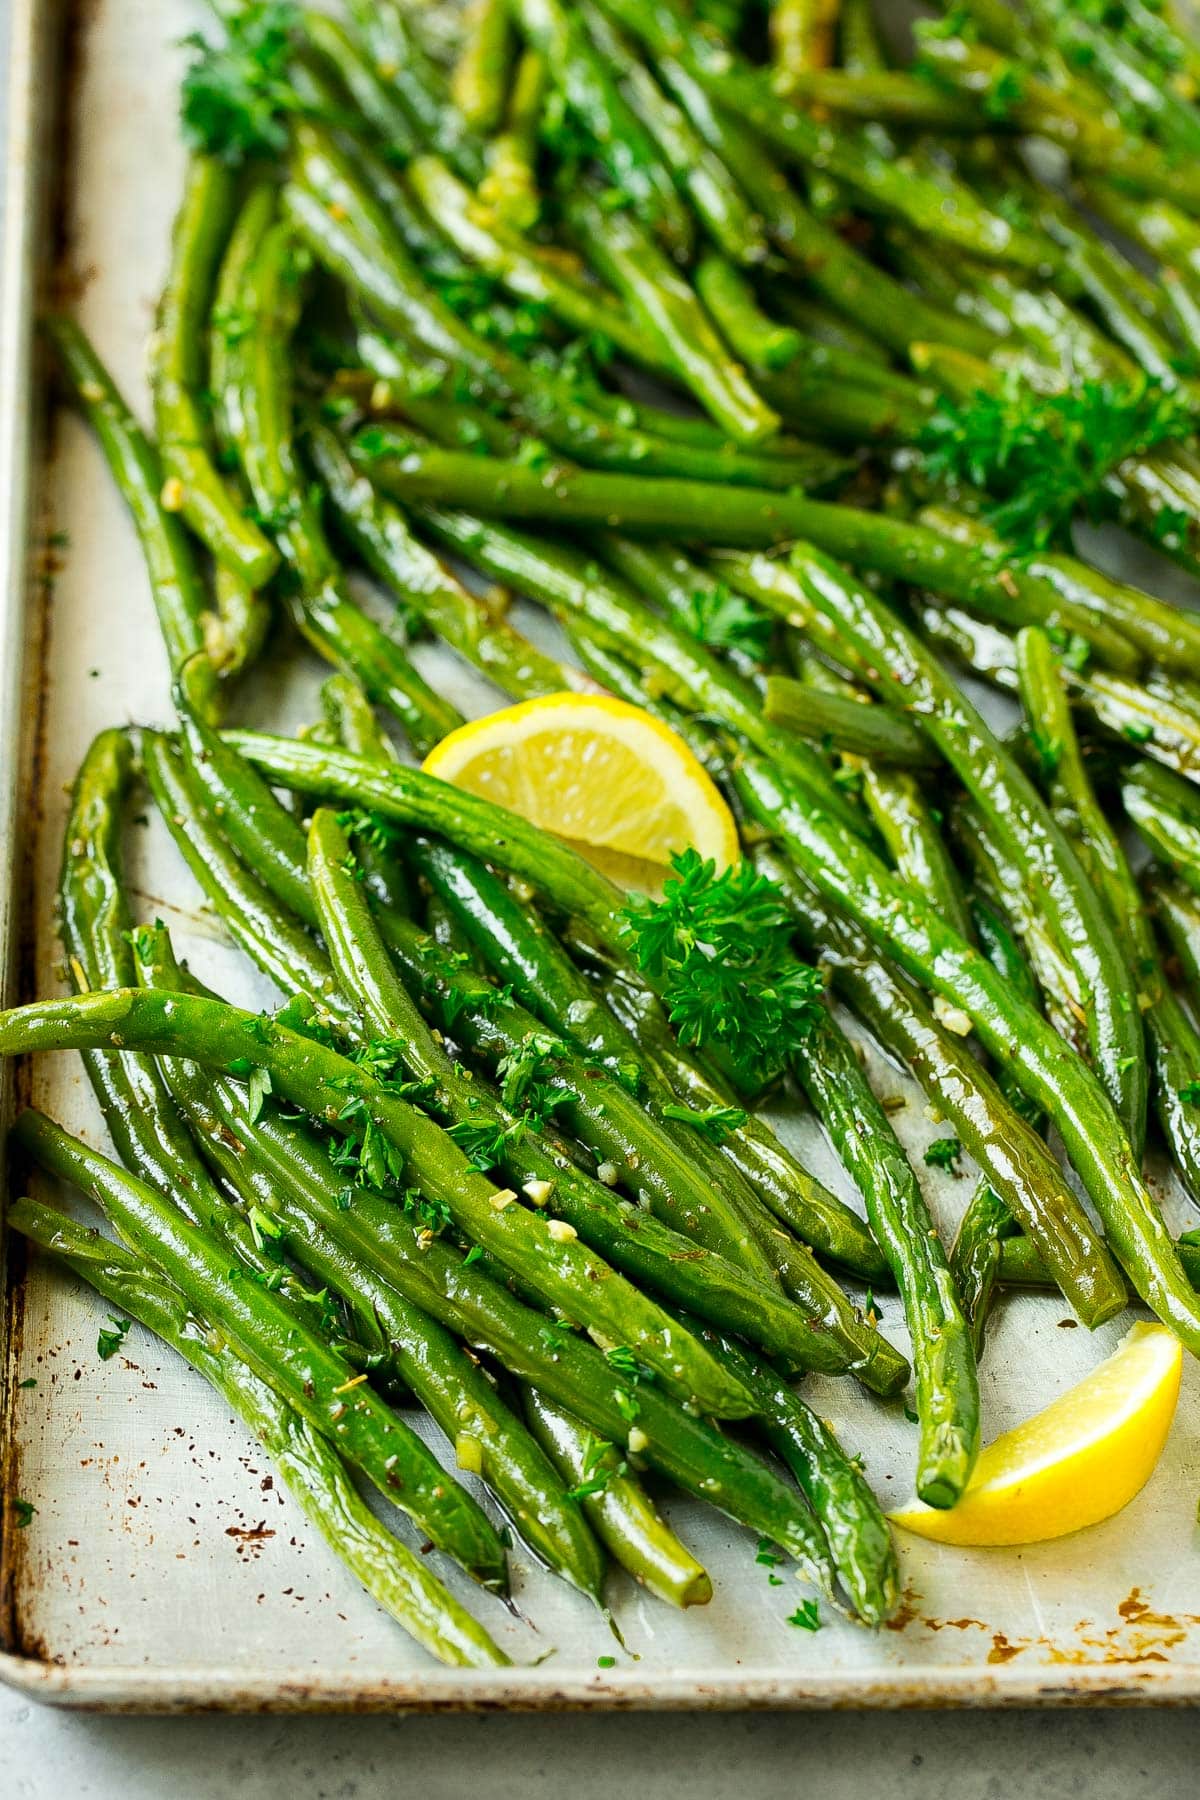
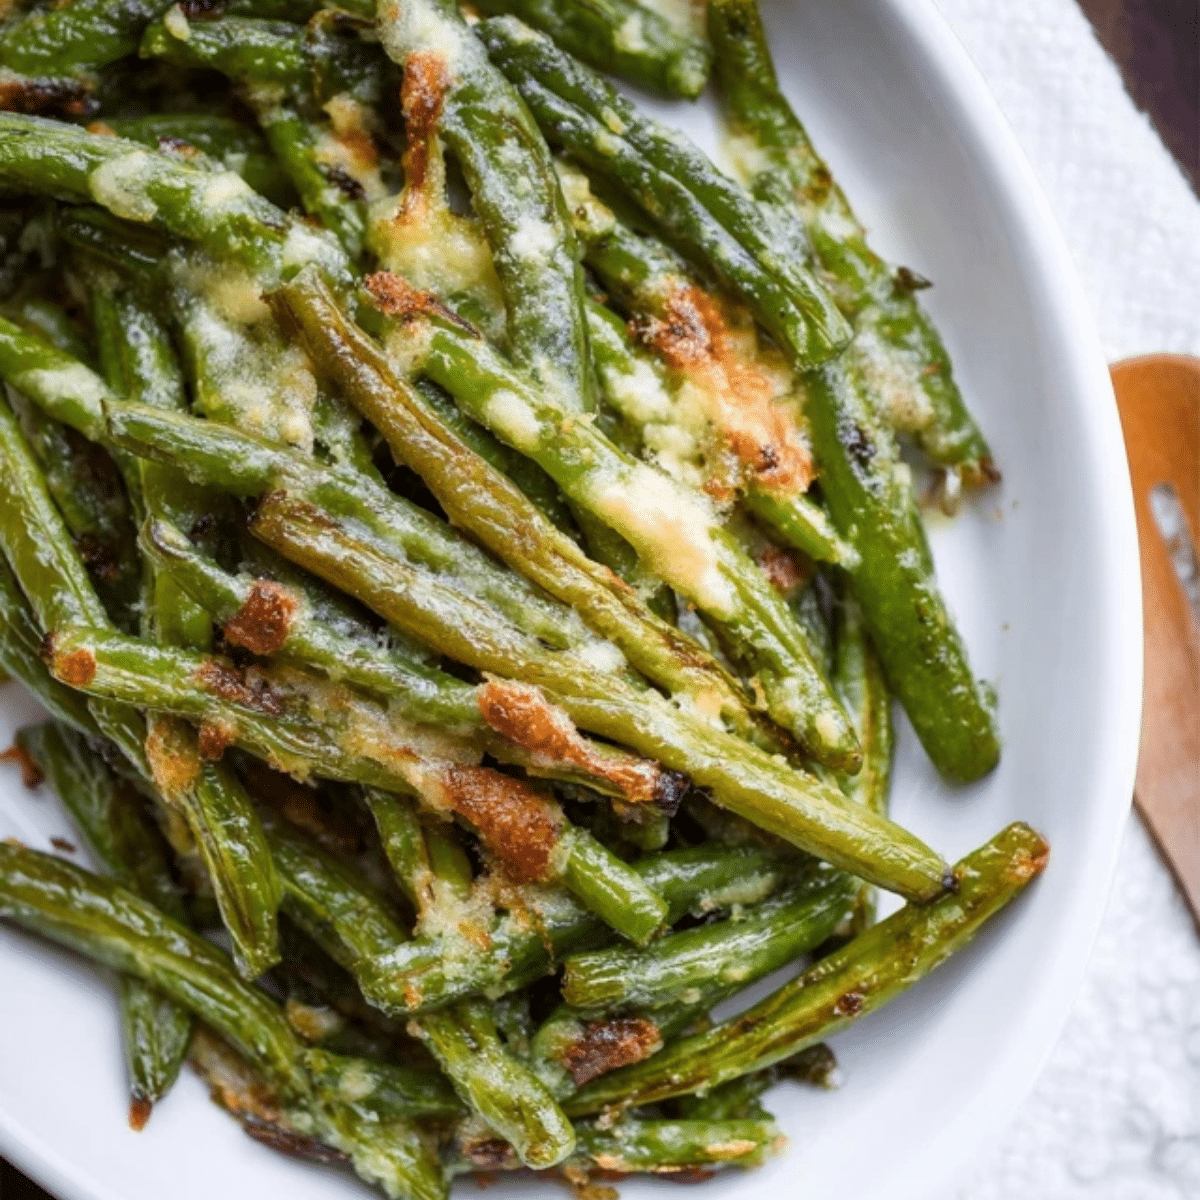
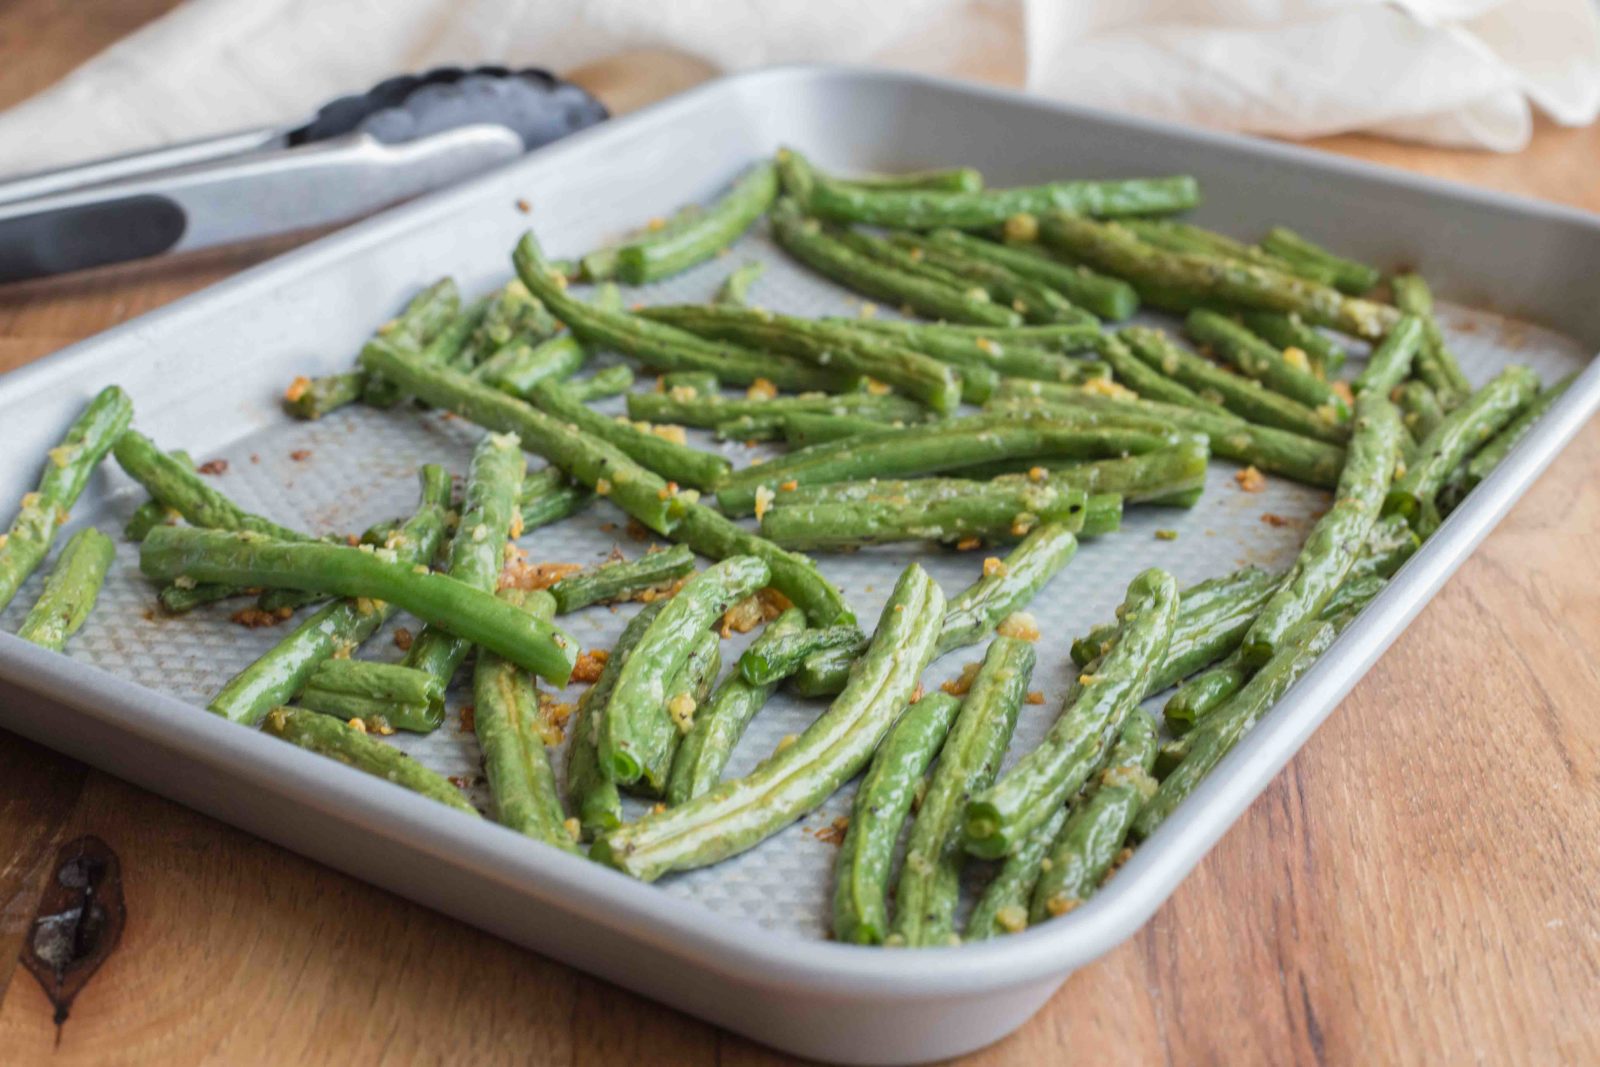
Bake fresh green beans at 425°F for 15 to 20 minutes with olive oil, garlic, salt, and black pepper. Spread them in a single layer on a baking sheet and turn them once for even browning. The beans should feel tender and show lightly browned spots when done.
Across American kitchens, green beans make an easy side dish for weeknight dinners, holiday meals, summer cookouts, and Sunday roasts. They pair well with roasted chicken, baked fish, steak, pork chops, and even a simple bowl of rice. Baking them in a hot oven takes little effort and brings out their natural flavor.
This bake green beans recipe uses fresh green beans, olive oil, garlic, salt, and black pepper. You do not need a long list of ingredients or special cooking tools. The key is to dry the beans well, give them enough room on the pan, and check their texture near the end of cooking. A few simple choices can make the difference between crisp-tender beans and a soft, soggy batch.
Oven baking gives green beans a mix of tender flesh, lightly crisp edges, and rich roasted flavor. The dry heat helps moisture escape from the surface, while the oil encourages browning. This creates a different result from boiling or steaming, where the beans cook in water or trapped steam.
Another benefit is the simple cooking process. Once the beans are trimmed and seasoned, the oven does most of the work. You can prepare the rest of dinner while the vegetables roast, and you do not need to stand over a pan or stir them every minute.
Baked green beans also work with many types of meals. Keep the seasoning mild for a family dinner, or add chili flakes and lemon zest for a brighter, bolder side dish. You can serve them straight from the pan or place them in a warm serving dish.
Source: dinneratthezoo.com
Good texture
High heat can brown the outside while keeping the inside pleasantly tender.
Simple preparation
A baking sheet, a bowl, and a few pantry staples are enough.
Flexible flavor
Garlic, herbs, citrus, cheese, and spices can change the flavor without changing the basic method.
Fresh Beans or Frozen Beans?
Fresh green beans are the best starting point when you want a firm texture and well-browned edges. Choose beans that feel firm, look bright green, and snap rather than bend without breaking. Avoid beans with slimy patches, deep wrinkles, or soft, damaged spots.
Frozen green beans can work when fresh ones are unavailable. They release more moisture as they heat, so the finished dish may be softer and less browned. Follow the package directions for any special preparation, and avoid crowding the pan. If the beans remain icy or wet, allow extra cooking time and expect a different texture.
Fresh
Best for a classic roasted texture and browned edges.
Frozen
Convenient for quick meals, though the result may be softer.
Canned
Already cooked and often soft, so they need less time and may not develop the same roasted texture.
Ingredients for an Easy Bake Green Beans Recipe
You need only a handful of ingredients for this basic recipe. The green beans provide the main flavor, olive oil helps coat them, and garlic adds a savory note. Salt and black pepper bring out the beans’ natural taste without covering it up.
For four side-dish servings, start with one pound of fresh green beans. This amount fits a typical home meal and can be adjusted to suit your table. If you double the recipe, use two baking sheets rather than piling all the beans onto one crowded pan.
Choose a light coating of oil instead of pouring it over the beans freely. Too much oil can make the surface greasy, while too little may leave parts of the beans dry. The goal is a thin, even coat that helps the seasoning stick.
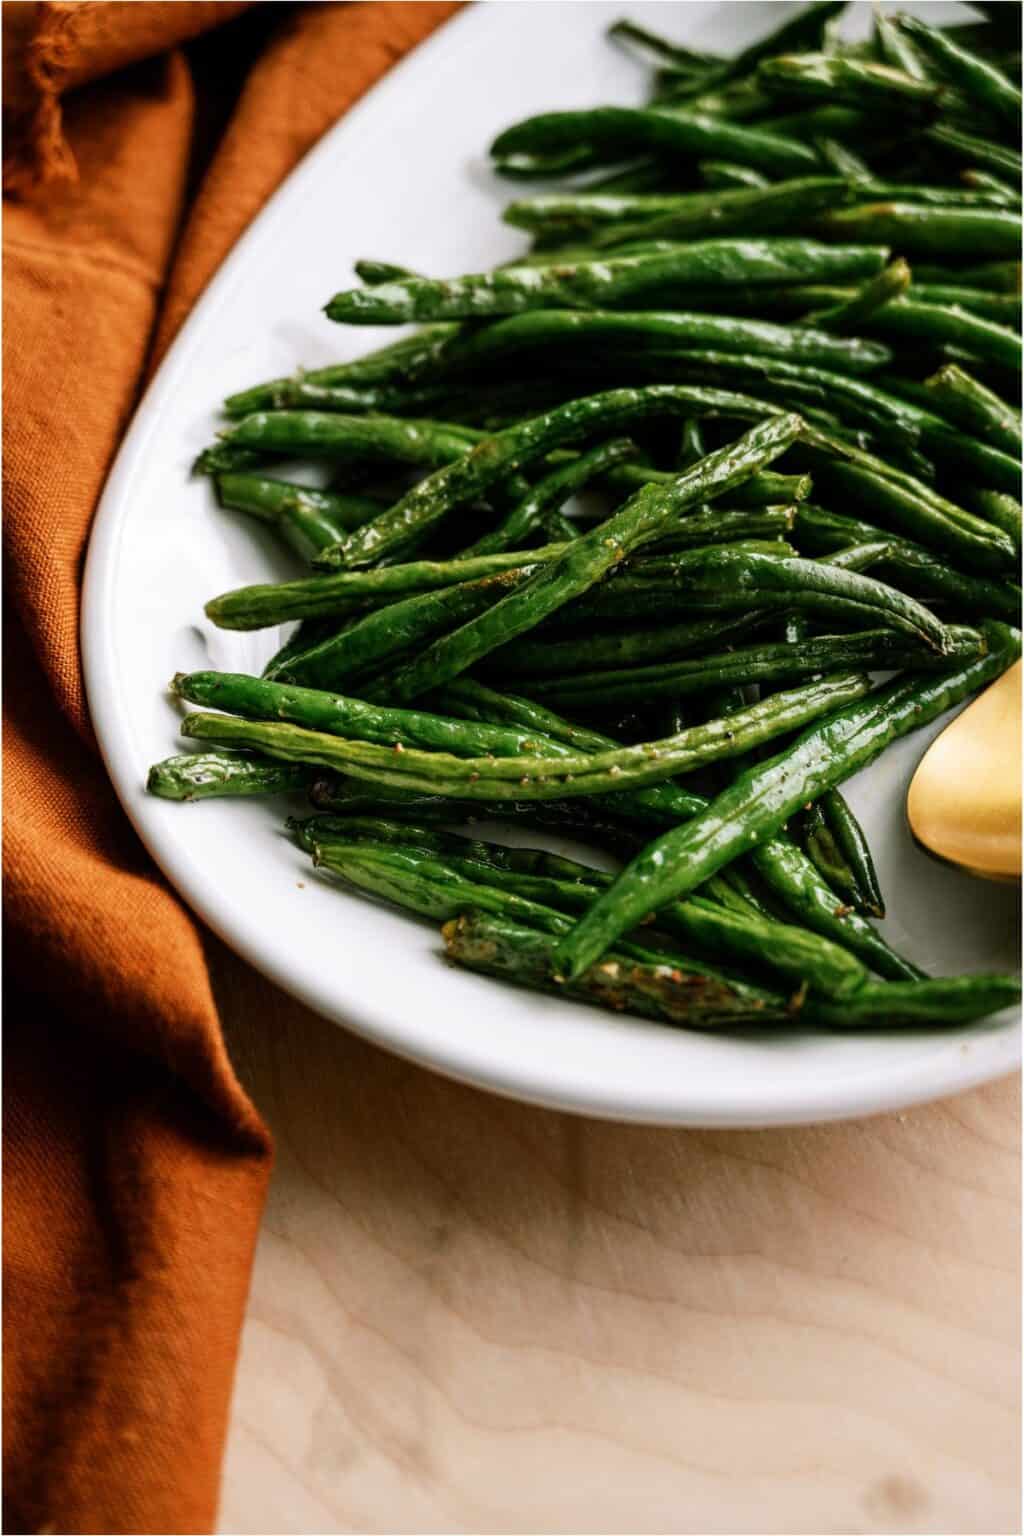
Source: tasteofhome.com
1 pound fresh green beans
Wash them, trim the stem ends, and dry them well.
1 to 1 1/2 tablespoons olive oil
Use enough to coat the beans lightly without leaving a pool on the pan.
2 garlic cloves
Mince finely or use a small amount of garlic powder if preferred.
1/2 teaspoon kosher salt
Adjust to taste, especially if the beans will be served with salty cheese.
1/4 teaspoon black pepper
Add more if you enjoy a stronger pepper flavor.
Optional finishing ingredients
Try lemon juice, lemon zest, grated Parmesan, red pepper flakes, or chopped parsley.
Choosing Oil and Seasonings
Olive oil is a useful choice because it coats the beans well and works with garlic and herbs. A neutral cooking oil can also be used. Keep the seasoning simple the first time so you can judge the natural roasted flavor before trying new combinations.
Fresh minced garlic can brown quickly in a hot oven, especially when cut into very small pieces. If your oven runs hot or you plan to roast the beans for longer, add the garlic during the final five to eight minutes. Garlic powder is another option because it spreads evenly and is less likely to burn in small pieces.
For a fresh finish
Add lemon juice and parsley after baking.
For a savory finish
Sprinkle Parmesan over the beans near the end of cooking.
For extra heat
Add a small pinch of red pepper flakes before baking.
How to Bake Green Beans Step by Step
The basic method is simple: heat the oven, prepare the beans, season them, and roast until tender with browned spots. For one pound of fresh green beans, use a large rimmed baking sheet so the beans can sit in a single layer. A pan that is too small can trap steam and slow browning.
Allow a few minutes for washing, trimming, and drying. The exact cooking time depends on the thickness of the beans, the pan, and your oven. Begin checking early rather than relying on the clock alone.
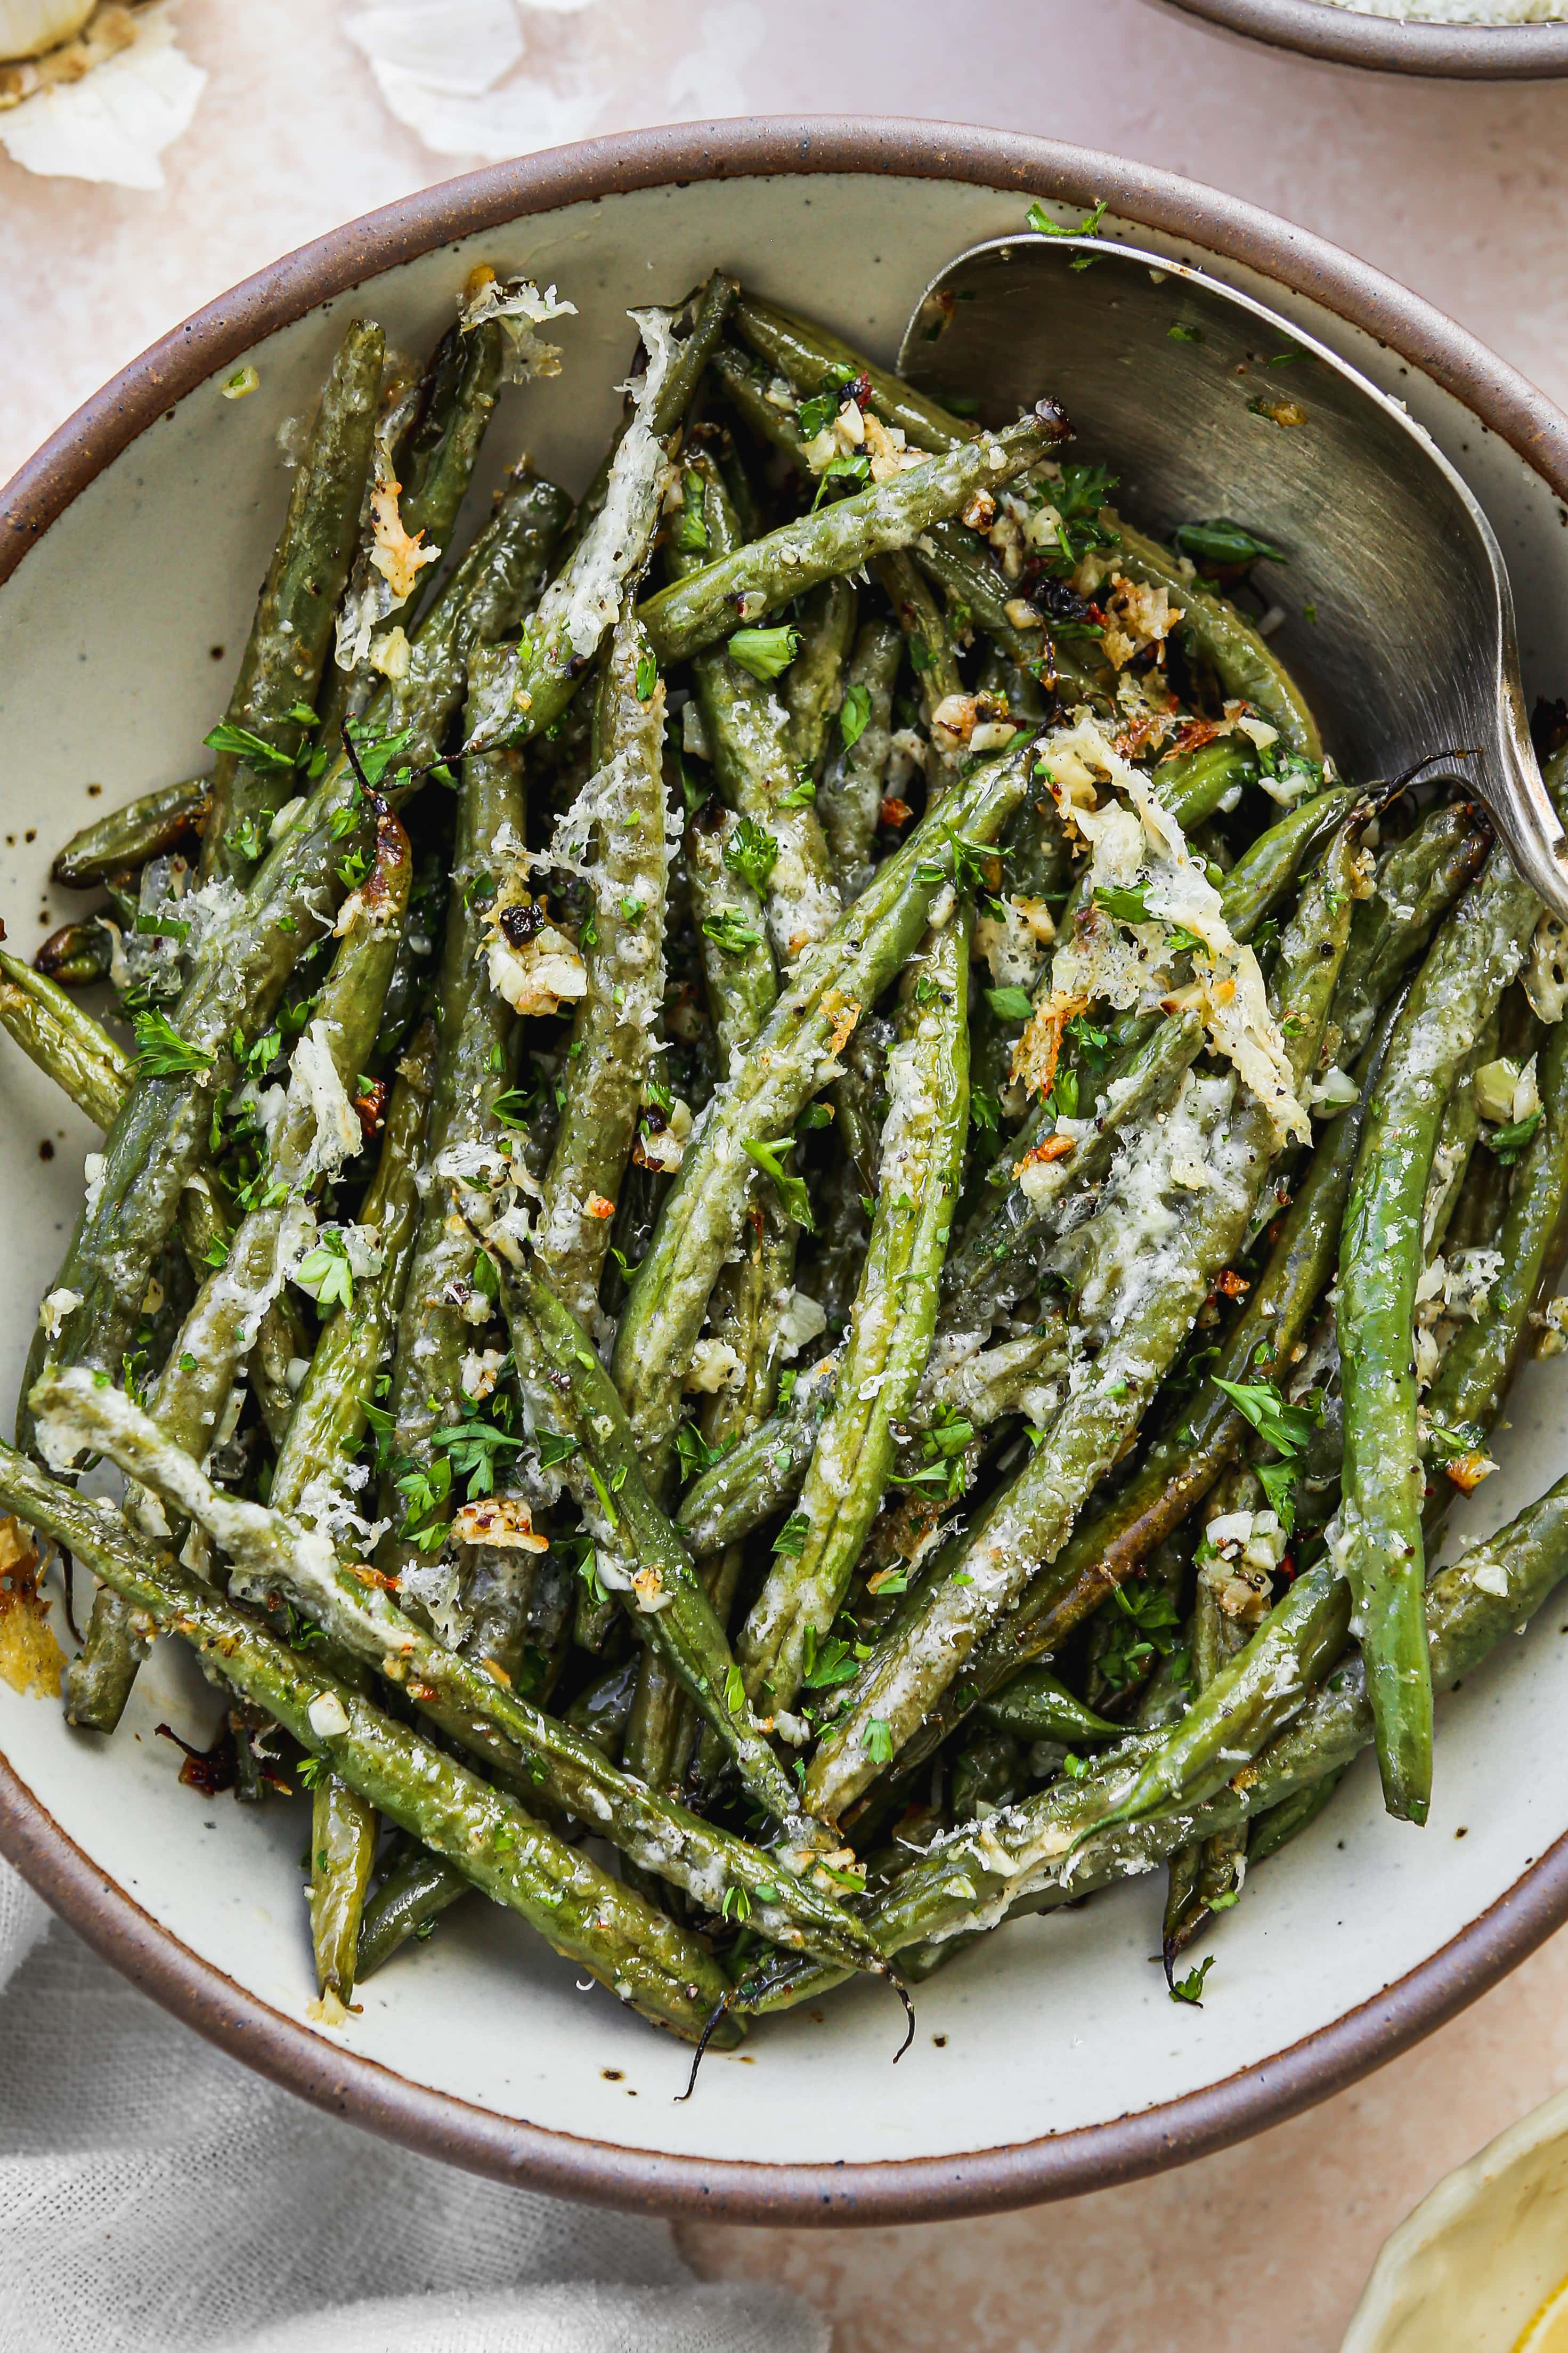
Source: gelarecipes.com
Step 1: Preheat the oven
Set the oven to 425°F. Let it heat fully before adding the beans so they begin roasting right away.
Step 2: Wash and trim
Rinse the green beans under cool running water. Cut off the tough stem ends, then dry the beans with a clean towel.
Step 3: Add the seasonings
Place the beans in a bowl. Add olive oil, salt, pepper, and garlic, then toss until the beans are lightly coated.
Step 4: Arrange the beans
Spread them across the baking sheet in one layer. Leave small gaps where possible, and use another pan if needed.
Step 5: Roast the beans
Bake for about 15 to 20 minutes, turning once around the halfway point. Check thin beans earlier and allow thick beans more time.
Step 6: Check and serve
Pierce a bean with a fork and taste one after it cools slightly. Serve when the center is tender and the edges show some browning.
How to Tell When Green Beans Are Done
The best sign is the texture, not just the cooking time. A cooked green bean should be easy to bite but still hold its shape. The outside may show brown spots, while the center remains moist and tender.
If the beans are still tough, roast them for another two to four minutes and check again. If they are tender but pale, they may have released too much moisture or been packed too closely. Spread them out and give them a little more time if they are not yet fully cooked.
Tender center
A fork should pierce the bean without much force.
Light browning
Small golden or brown patches show that the surface has roasted.
No burnt garlic
The garlic should smell savory, not bitter or scorched.
Should You Use Parchment Paper?
Parchment paper makes cleanup easier and helps prevent sticking. It can be useful for a quick weeknight meal, particularly when the pan has worn spots. A bare metal baking sheet can encourage stronger contact with the hot surface, though the difference depends on the pan and oven.
If you use parchment, choose paper rated for the oven temperature on the package. Do not substitute wax paper, which is not designed for this use. Keep paper away from exposed heating elements and follow your oven manufacturer’s instructions.
For easy cleanup
Use oven-safe parchment rated for the baking temperature.
For direct pan contact
Use a clean metal baking sheet and a light coat of oil.
Cooking Time and Temperature Guide
For fresh green beans, 425°F is a useful starting temperature because it promotes browning without requiring a long cooking period. Most batches take around 15 to 20 minutes, but the final result depends on the bean size, moisture level, oven accuracy, and how tightly the beans are packed.
Use the following table as a starting guide, not a guarantee. Check the beans near the lower end of each range, especially if your oven has a strong fan or your beans are very thin. If you use a different temperature, watch for texture and color rather than assuming the same time will work.
Source: recipesbylucelle.com
425°F for fresh beans
A good default for a tender center and lightly browned surface.
400°F for a gentler roast
A reasonable option if other food needs the same oven temperature, though browning may take longer.
Check early
Thin beans can soften before thick ones, so taste a sample instead of relying only on the timer.
Approximate Timing by Bean Type
Fresh, thin green beans may be ready in about 12 to 15 minutes at 425°F. Average beans often need 15 to 20 minutes, while very thick beans may need 20 to 25 minutes. These are approximate ranges for a single layer on a baking sheet.
Frozen beans are less predictable because ice and surface moisture affect browning. If you bake them from frozen, follow any package guidance and check both the center and the surface. Do not expect the same crisp texture as fresh beans.
Thin fresh beans
Begin checking at 12 minutes.
Average fresh beans
Begin checking at 15 minutes.
Thick fresh beans
Check around 20 minutes and continue if needed.
Flavor Variations for Every Meal
The basic recipe is easy to adapt without changing the cooking method. Add stronger flavors in small amounts so the green beans remain the main part of the dish. When using ingredients that burn easily, such as minced garlic or grated cheese, add them later in the roasting process when needed.
These variations work for weeknight dinners, holiday spreads, and potluck meals across the United States. Choose a version that fits the main dish rather than using every seasoning at once.
Source: mykitchencraze.com
Garlic Parmesan green beans
Add garlic during the final part of baking if it browns too fast, then finish with grated Parmesan.
Lemon herb green beans
Toss the cooked beans with lemon juice, lemon zest, and chopped parsley for a bright finish.
Spicy roasted green beans
Add red pepper flakes and a little extra black pepper before baking.
Smoky green beans
Use a small pinch of smoked paprika to give the beans a warm, smoky note.
Cheesy green beans
Sprinkle Parmesan over the beans near the end and return the pan to the oven briefly.
Can You Add Bacon or Nuts?
Yes, bacon and nuts can add crunch and a savory flavor. Cook bacon until crisp first, then scatter the pieces over the beans near the end or after baking. This gives you better control over the texture and helps avoid excess grease on the baking sheet.
For nuts, try chopped almonds or pecans. Add them during the last few minutes only if they can toast safely without burning, or toast them separately in a pan and sprinkle them over the cooked beans. Keep an eye on small pieces because they can brown quickly.
Bacon
Cook separately for crisp pieces and add them near serving time.
Almonds or pecans
Toast lightly and sprinkle over the beans for extra crunch.
Parmesan
Use a small amount because the cheese adds salt as well as flavor.
Common Mistakes and How to Fix Them
Soggy beans usually come from excess moisture, a crowded pan, or insufficient heat. Burnt garlic often means the pieces were too small or spent too long in the oven. Most problems are easy to prevent once you know which part of the process affects the result.
If your first batch does not turn out as planned, look at the beans’ texture and color before changing every ingredient. Adjust one variable at a time, such as drying, spacing, or cooking time, so you can identify the cause.
Source: wholesomeyum.com
Mistake: Wet beans
Fix: Dry them well after rinsing. Surface water creates steam and slows browning.
Mistake: A crowded baking sheet
Fix: Divide the beans between two pans and rotate the pans if your oven cooks unevenly.
Mistake: Too much oil
Fix: Toss the beans in a bowl and use only enough oil to coat them lightly.
Mistake: Burnt garlic
Fix: Add fresh minced garlic later or use garlic powder in a modest amount.
Mistake: Tough beans
Fix: Continue roasting in short intervals until the centers are tender.
Mistake: Pale beans
Fix: Spread them out and roast a little longer, checking often for doneness.
What If the Beans Are Done but Not Crispy?
Green beans contain water, so oven baking does not always produce a chip-like crunch. The usual goal is a tender bean with browned edges, not a completely crisp shell. If you want stronger browning, make sure the beans are dry and use a hot oven with enough room around each piece.
You can return the beans to the oven for another two to three minutes if they are still firm enough to handle more heat. Avoid adding more oil as a first fix. Extra oil will not remove excess moisture and can leave the finished dish greasy.
Dry the surface
Remove water left after washing before adding oil.
Improve spacing
Leave room between the beans instead of piling them up.
Use short extra intervals
Check every few minutes to prevent shriveling or burning.
Serving Ideas and Food Pairings
Baked green beans fit into many American meals because their mild flavor works with both rich and light main dishes. Serve them with roasted turkey at a holiday dinner, grilled chicken on a summer evening, or baked salmon for a simple family meal. They also add color and texture to a plate of mashed potatoes and meatloaf.
For a quick lunch, serve the beans with rice, quinoa, or a grain bowl. Add chickpeas, sliced chicken, or another protein if you want a more filling meal. A squeeze of lemon can help balance rich foods, while Parmesan works well with pasta and tomato-based dishes.
Source: sixsistersstuff.com
For holiday meals
Serve alongside roast turkey, ham, stuffing, or mashed potatoes.
For a weeknight dinner
Pair with baked chicken, pork chops, meatloaf, or roasted fish.
For a meat-free meal
Serve with beans, lentils, rice, or a grain bowl.
For a potluck
Bring the beans in a shallow dish and add delicate toppings shortly before serving.
When Should You Add Lemon or Cheese?
Add lemon juice after baking to keep its fresh, sharp flavor. Heat can soften that bright taste, so a final squeeze just before serving works well. Lemon zest can be added at the same time for more aroma.
Grated Parmesan can go on during the last few minutes or after the beans come out of the oven. The first method helps the cheese melt and brown a little, while the second gives a fresher cheese flavor. Choose based on the texture you want.
Lemon juice
Add after baking for a fresh, tangy finish.
Lemon zest
Add just before serving for a stronger citrus aroma.
Parmesan
Add near the end for a lightly melted topping or after baking for a sharper taste.
How to Store and Reheat Baked Green Beans
Let the beans cool briefly, then place them in a clean, shallow, airtight container. Refrigerate them within two hours of cooking, or within one hour when the surrounding temperature is above 90°F. Store the container in a refrigerator set to 40°F or below and use the leftovers within three to four days.
The beans will soften as they sit because moisture moves through the cooked vegetables. That change is normal and does not mean they were cooked incorrectly. A hot oven or skillet can help restore some surface texture, though reheated beans may not be as firm as freshly baked ones.
Source: walderwellness.com
Refrigerator
Keep leftovers in a sealed container for three to four days.
Oven reheating
Spread the beans on a baking sheet and heat at 375°F until hot, checking after several minutes.
Skillet reheating
Warm the beans in a skillet over medium heat, stirring as needed to prevent scorching.
Microwave reheating
Heat in short intervals until steaming hot, knowing that the texture will be softer.
Can You Freeze Baked Green Beans?
You can freeze cooked green beans, but the texture may become softer after thawing. For the best quality, cool them promptly, pack them in a freezer-safe container, and remove as much excess air as possible. Label the container with the date so you can track storage time.
Frozen cooked beans are often more useful in soups, casseroles, or mixed dishes than as a crisp side. Thaw them in the refrigerator when practical, then reheat them until hot. Discard leftovers that have been left at unsafe temperatures for too long or show signs of spoilage.
Freeze in portions
Small amounts are easier to thaw and use without wasting food.
Expect softer texture
Freezing and thawing can change the beans’ structure and release moisture.
Frequently Asked Questions
Q
How long does it take to bake green beans at 425°F?
Fresh green beans usually take about 15 to 20 minutes at 425°F. Thin beans may be ready in 12 to 15 minutes, while thicker ones can need 20 to 25 minutes. Check for a tender center and lightly browned edges rather than relying on time alone.
Q
Should I boil green beans before baking them?
No, fresh green beans do not need to be boiled before baking. Wash, trim, dry, and season them, then roast them directly on a baking sheet. Boiling first adds an extra step and may make the beans too soft if you roast them for the same length of time.
Q
Can I bake green beans without oil?
Yes, you can bake green beans without oil, but they may brown less evenly and can dry out more quickly. Use a clean baking sheet or suitable parchment paper, spread the beans in one layer, and check them often. A little oil generally improves surface browning and helps seasonings stick.
Q
Why are my baked green beans soggy?
Soggy green beans often result from excess surface water, overcrowding, or a lower oven temperature. Dry the beans well, spread them across a large baking sheet, and use a fully heated oven. Frozen beans may release more moisture than fresh ones and can produce a softer result.
Q
Can I use garlic powder instead of fresh garlic?
Yes, garlic powder is a convenient substitute for fresh garlic. Start with about 1/4 teaspoon for one pound of green beans and adjust to taste. It spreads evenly over the beans and avoids the small burnt pieces that can occur with minced garlic during high-heat roasting.
Q
How do I know baked green beans are safe to eat?
Check that the beans are tender and hot throughout, and avoid eating beans that show signs of spoilage. Refrigerate cooked leftovers within two hours, or within one hour when temperatures exceed 90°F. Keep the refrigerator at 40°F or below and use refrigerated leftovers within three to four days.
✦ Wrapping Up
Conclusion
A good bake green beans recipe needs little more than fresh beans, olive oil, garlic, salt, pepper, and a hot oven. At 425°F, most fresh beans roast in about 15 to 20 minutes. Drying the beans, leaving space on the pan, and checking for tenderness will help you get a better result each time.
Keep the basic version simple for busy weeknights, then try lemon, Parmesan, smoked paprika, or toasted nuts when you want a change. Serve the beans with chicken, fish, steak, or a meat-free grain bowl. Store leftovers promptly and reheat them in a hot oven or skillet when you want to bring back some of their roasted texture.
💡 Key Takeaway
For your next meal, wash and dry one pound of fresh green beans, toss them with olive oil, garlic, salt, and pepper, then bake at 425°F for 15 to 20 minutes. Check early, adjust the time to the bean size, and finish with lemon or Parmesan if desired.