
Introduction
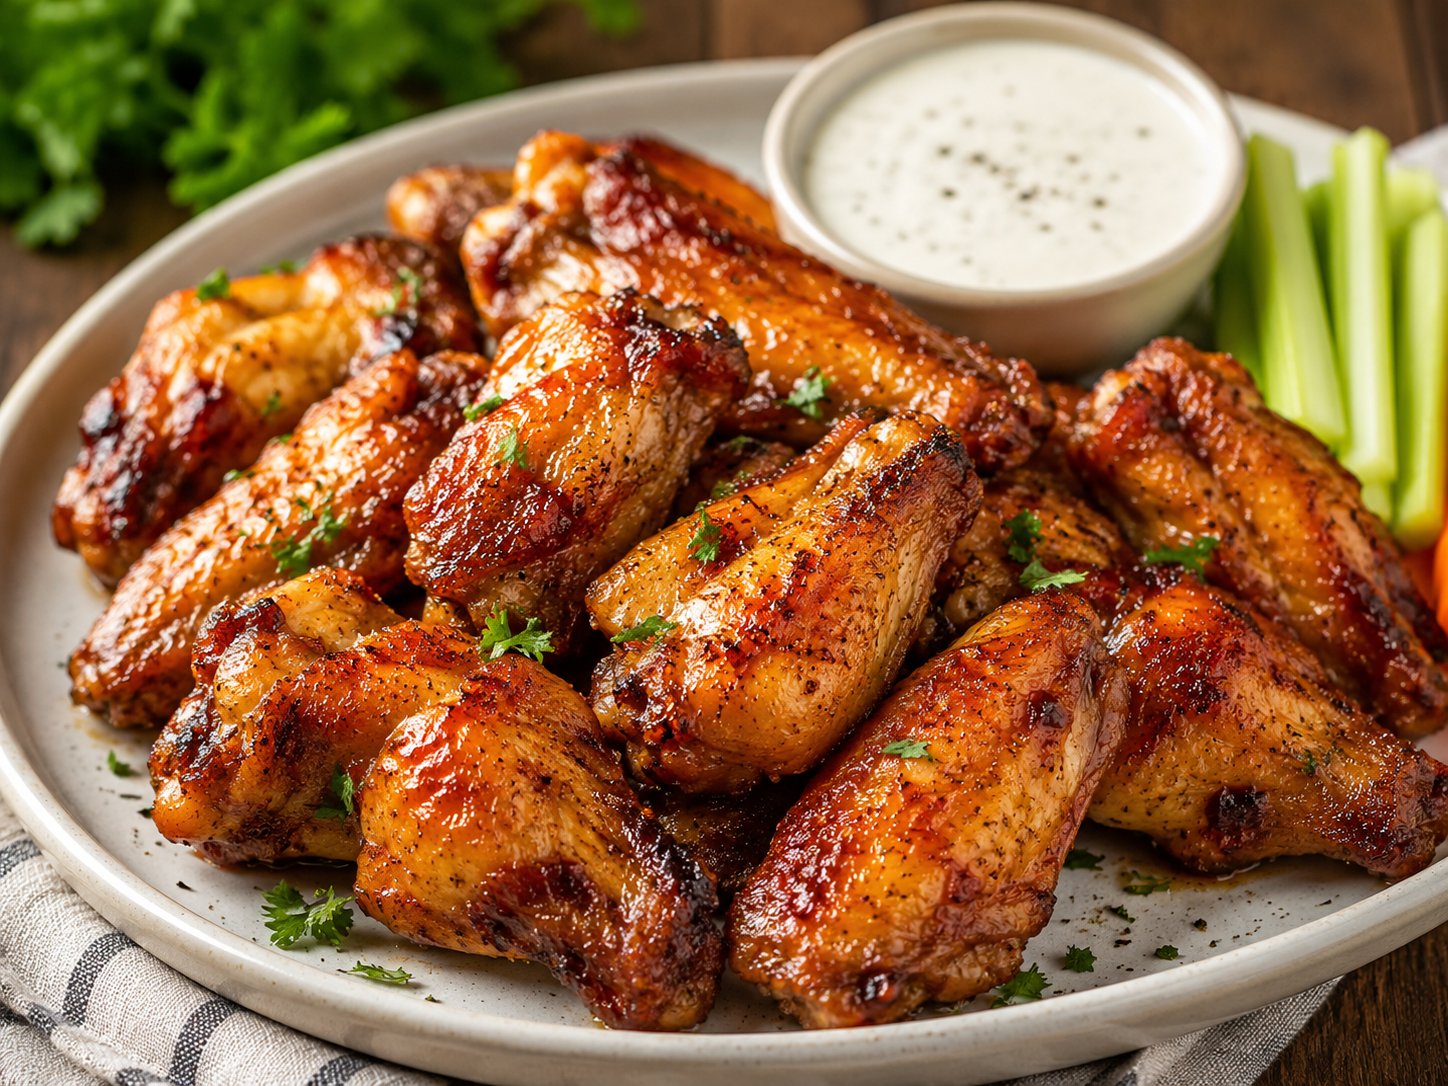
Craving crispy wings without the deep fryer mess? Try my easy, crispy baked chicken wings recipe tonight. Click here to grab the secret! I make these wings every game day. I used to fry them. That made a huge mess in my home. Now, I bake them instead. They come out super crisp every time. My family begs for them. I will show you my exact steps. It is very simple to do. Let’s cook!
Why Make This Baked Chicken Wings Recipe?
I love hot wings. I eat them all the time. But deep frying is hard work. It uses way too much oil. The hot oil can burn my hands. The smell stays in the house for days. That is why I made this baked chicken wings recipe. I wanted the big crunch without the bad stuff.
One Sunday, I tried a new way. I dried the wings well. I used a bit of baking powder. I put them in a very hot oven. The result blew my mind. The crunch was so loud when I bit into them. The meat inside was soft and juicy. All the thick fat just melted away. It felt like pure joy. I felt so proud of my meal. You will feel that way, too. It saves me so much time. It saves me a big clean up. It just works.
What You Need for This Cook
Gathering the right things makes cooking easy. Here is what I always use.
Essential Gear
I do not use fancy kitchen tools. I keep things basic. A good metal pan is key. You also need a wire cooking rack. The rack lets hot air flow under the meat. Air flow makes the skin dry out. Dry skin means crispy wings.
| Item | Why I Use It | Is It Required? |
|---|---|---|
| Baking Sheet | Holds the chicken and catches hot drips. | Yes, a big one. |
| Wire Rack | Lifts wings so heat goes all around. | Yes, highly suggested. |
| Metal Tongs | Helps me flip hot wings safely. | Yes, saves your fingers. |
| Big Bowl | Best for tossing meat in the dry rub. | Yes. |
Export to Sheets
The Main Ingredients
The food list is very short. I like to keep the taste clean.
- Chicken Wings: Buy them fresh. Get the ones cut into flats and drums.
- Baking Powder: This is my big trick. It makes tiny bubbles on the skin. Bubbles get crisp in the heat. Get powder, not baking soda.
- Fine Salt: Salt pulls wet moisture out of the skin.
- Black Pepper: Just a pinch adds a nice warm kick.
- Garlic Powder: This gives a deep, rich food flavor.
The Setup Phase
Getting ready is half the fun. Do not skip these important steps.
Drying the Meat
Water is the enemy of a good crunch. I take the meat out of the pack. I lay it all on a board. I grab a big roll of paper towels. I pat every single wing. I press down hard on them. I want them to be bone dry. If they are wet, they will steam in the oven. Steamed wings feel rubbery in your mouth. I hate rubbery skin. It ruins the whole plate. Take your time here. I usually spend five minutes just patting them dry. It feels slow, but it pays off.
The Dry Rub Mix
Next, I grab my big metal bowl. I put the dry meat inside. I mix the powder, salt, pepper, and garlic. I drop the mix over the meat. Then, I toss them around. I use my bare hands. I rub the dust into every skin fold. I want a thin, even coat. Do not use too much powder. If you do, it will taste like tin. A light dusting is all you need.
Picking the Right Chicken
Starting with good food makes a huge difference. Let me tell you what I buy.
Fresh is Best
I always go to my local butcher shop. I look for big, plump cuts. I hate skinny little wings. They dry out too fast in the hot oven. If I go to the big store, I buy party packs. They are already cut up. The little wing tip is gone. That saves me so much time. I used to cut them all by myself. It hurt my hands. Now, I just buy them ready to go. It costs a bit more cash. But my time is worth it.
Why I Leave Out Flour
Some cooks use white flour. I do not like flour on my meat. Flour makes a thick crust. But it can get very gummy. If the flour gets wet, it tastes like paste. The powder I use is different. It acts on the skin itself. It does not make a thick crust layer. It just makes the natural skin crisp up tight. I read about this trick years ago. I tried it once. I never went back to flour.
The Baking Process
Now comes the hot part. My kitchen starts to smell so good here.
Setting the Oven
I turn my stove oven to 400 degrees. High heat is a total must. The chicken fat needs to melt down. The skin needs to fry in its own hot fat. I place my wire rack on the sheet. I spray the rack with a little cooking oil. This stops the meat from sticking to the metal.
Placing the Meat
I put the wings on the cold rack. I leave empty space between them. They need room to breathe. If they touch each other, they will not crisp. I line them up in neat little rows. I put the pan in the oven. I shut the heavy door.
The Wait and Flip
I set my kitchen timer for thirty minutes. I clean up the messy bowl. I wipe the dirty counters. I pour a cold glass of tea. I wait. Soon, I hear them pop and sizzle. At thirty minutes, I take the hot pan out. The tops look nice and golden. I use my tongs. I flip each piece over. I put them back in the heat. I bake them for twenty more minutes.
Sauce and Serve
Wings need a good heavy coat of flavor. Here is how I finish them up.
Making the Sauce
While they bake, I make a wet sauce. I like a classic hot sauce. I melt half a stick of sweet butter in a pan. I add a full cup of red hot sauce. I stir it until it looks smooth. Sometimes, I add a drop of sweet honey. It cuts the sharp heat down. You can use brown BBQ sauce if you want. It is your choice.
The Great Toss
The loud timer rings. I pull the hot wings out. They look amazing. They are brown and bubbly. I let them sit on the stove for five minutes. This helps them stay super crisp. Then, I put them in a clean bowl. I pour the warm red sauce over them. I toss them fast. I want every single inch covered well. The sound is great. They clink hard against the bowl. They still sound crunchy.
Troubleshooting Common Issues
Sometimes things go wrong in the kitchen. Let me help you fix common cooking mistakes.
Soft Rubbery Skin
Did your meat turn out soft? You probably left the skin wet. Next time, dry them much more. Or, your oven was just not hot enough. Get a cheap oven thermometer. Check the real heat level inside.
Stuck to the Rack
Did half the meat stay on the wire? You forgot to spray the metal rack. Always use a little wet cooking spray. If they still stick, wait a minute before lifting them. They will let go as they cool down.
Storing Leftovers
If you have extra food, save it right. It makes a great lunch for the next day.
Fridge Rules
Let the meat cool down first. Put them in an air tight plastic box. Keep them cold in the fridge. They will last for three full days. Do not leave them out on the counter.
How to Reheat
Do not use the microwave oven. It makes them sad and soft. I use my big oven again. I put them on a flat tray. I bake at 350 degrees for ten short minutes. They get their loud crunch back.
FAQs
How long do I bake wings at 400? You should bake them for fifty minutes total. Bake for thirty minutes first. Then flip each wing over. Bake for twenty more minutes. Learn more about baking times.
Can I use foil instead of a wire rack? Yes, you can use foil on your pan. Just spray it well with oil. Your baked chicken wings recipe might be less crisp on the bottom. Learn more about baking pans.
Are baked wings healthier than fried? Yes, they are much healthier. Baking uses far less oil than deep frying. The fat from the chicken drips off as they cook in the oven. Learn more about healthy meals.
Can I use frozen wings for this meal? No, do not use frozen meat. It will release too much water. Your skin will be soft and rubbery. You must thaw and dry them first. Learn more about frozen chicken.
What is the best dip for spicy wings? Blue cheese is a great choice for this baked chicken wings recipe. The cool cheese cuts the spicy heat. Ranch dressing is also wonderful. Learn more about tasty dips.
#baked chicken wings recipe